24+ Years Experience
Specialist Epoxy Resin Flooring
Enquire Today For A Free No Obligation Quote
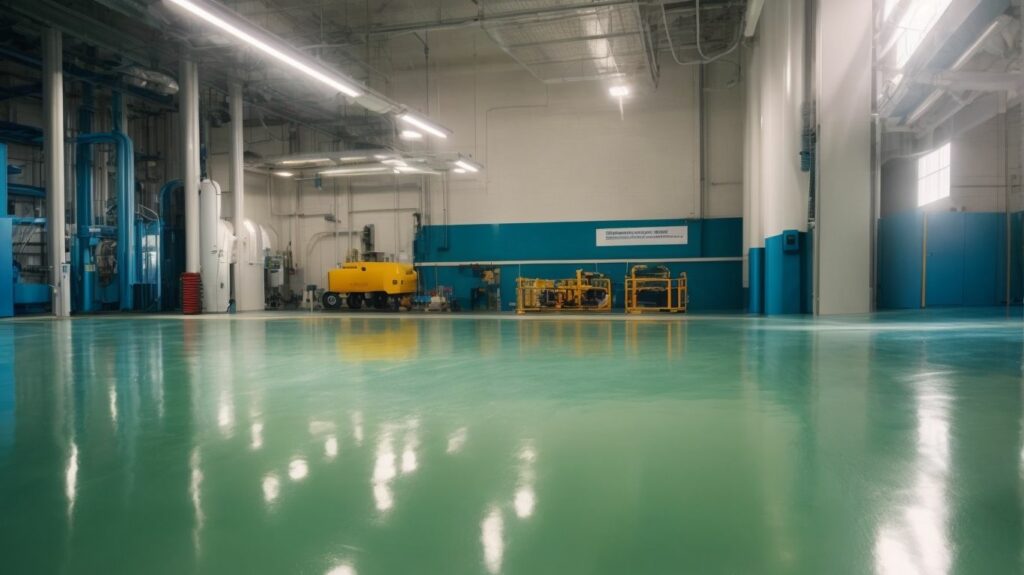
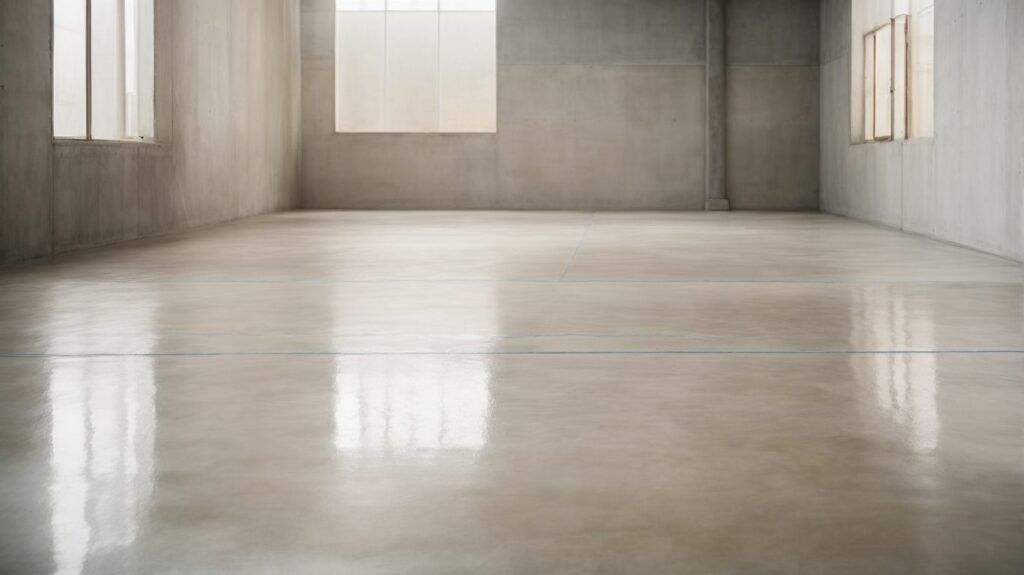
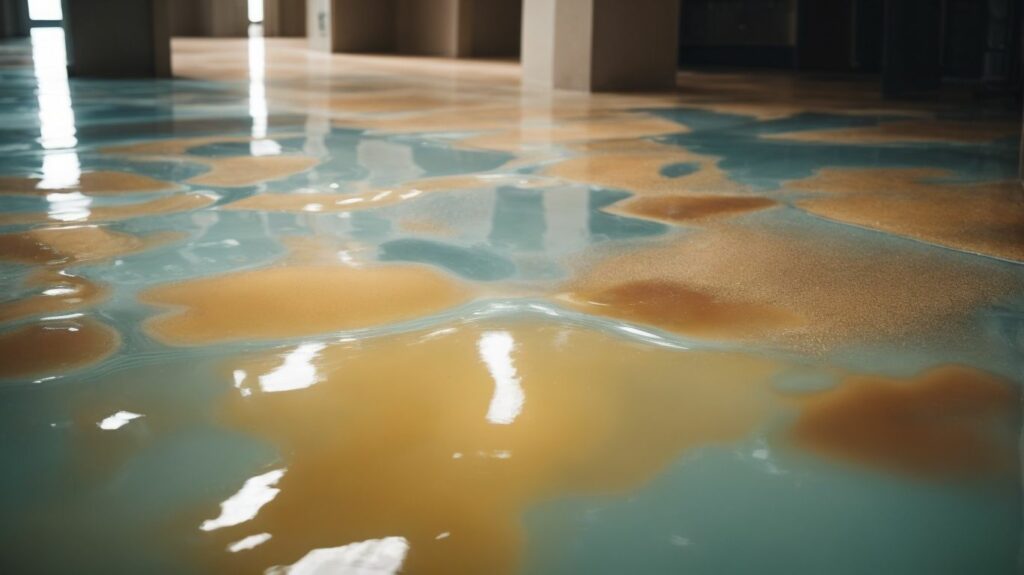
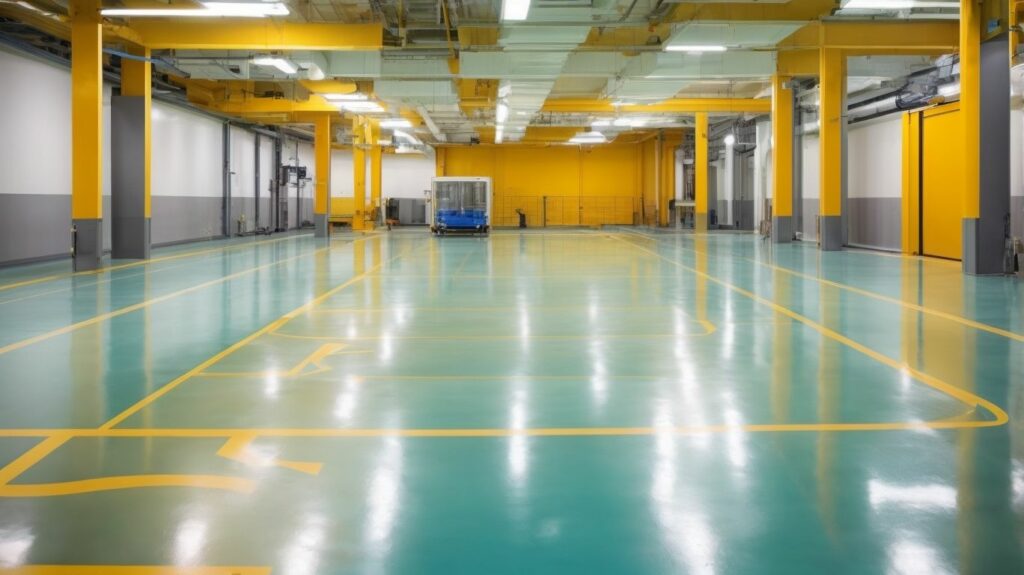
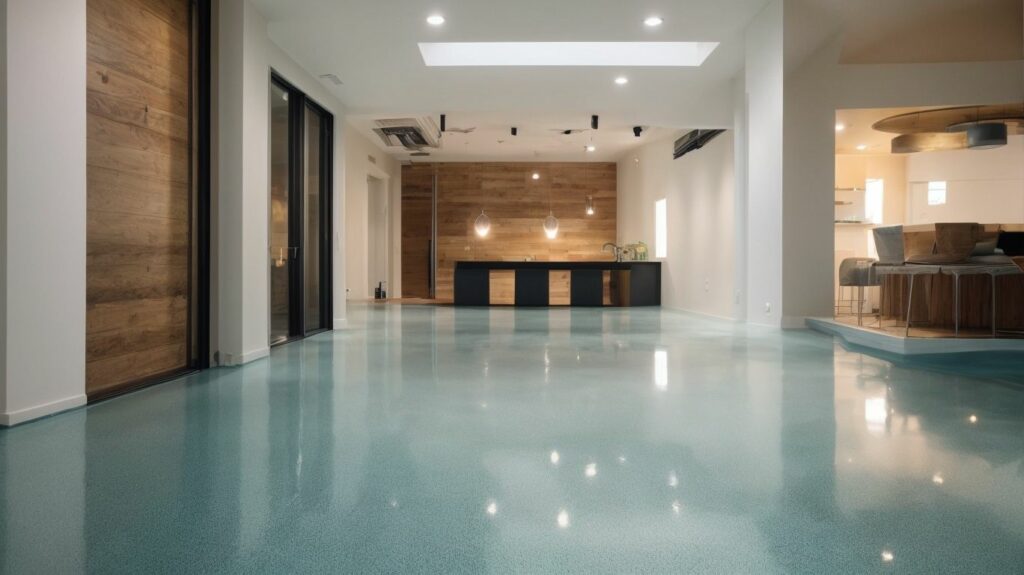
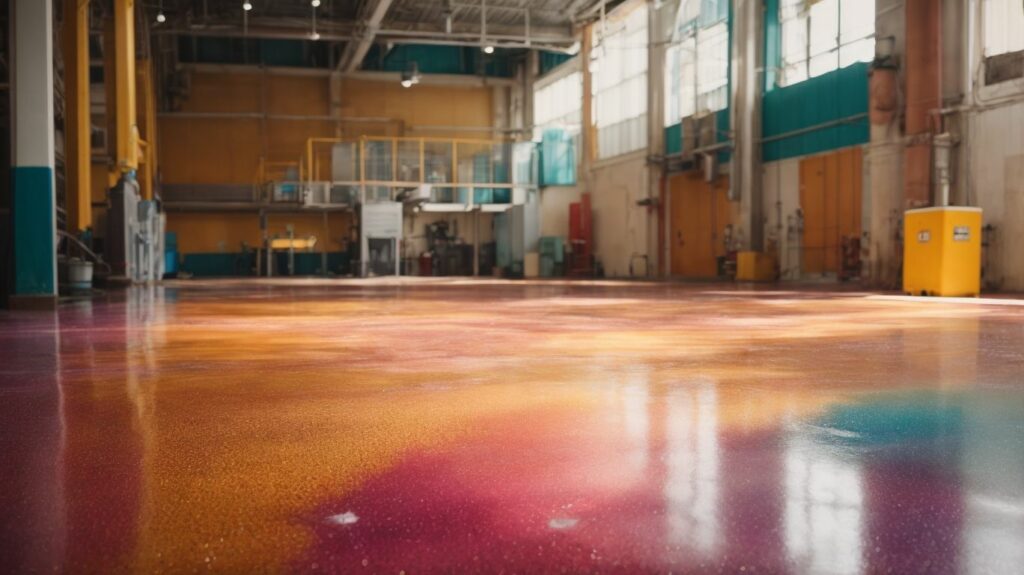
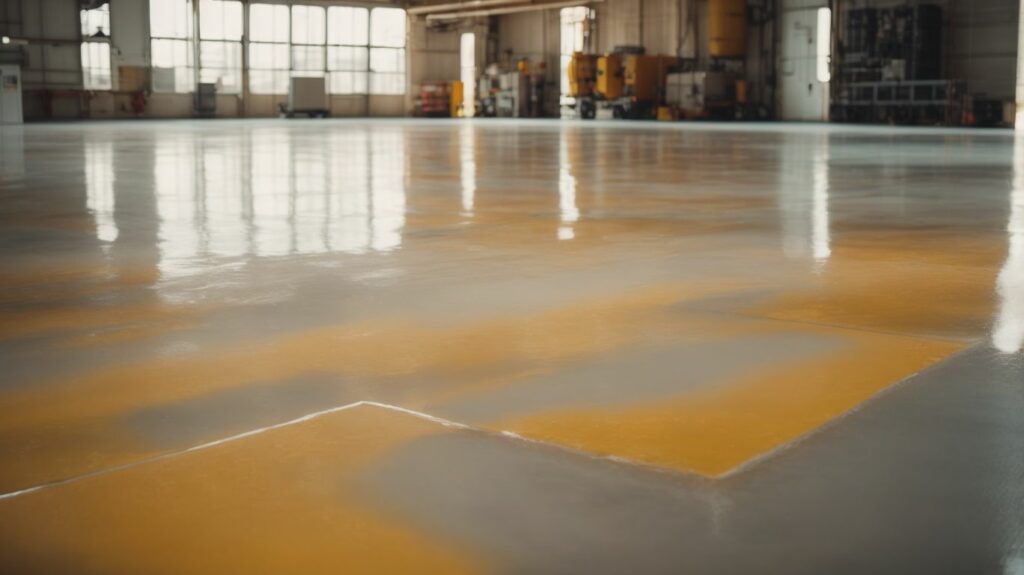
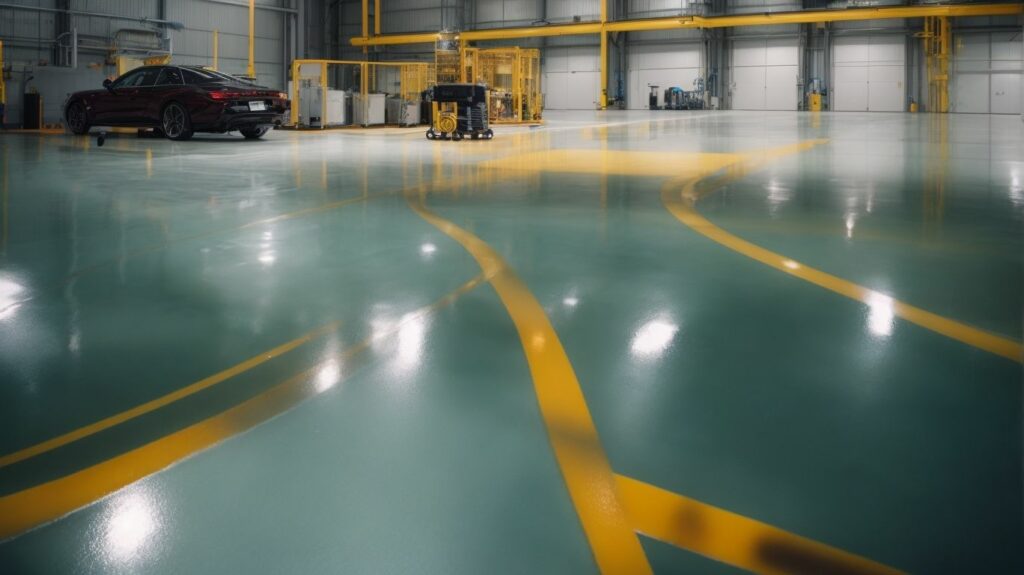
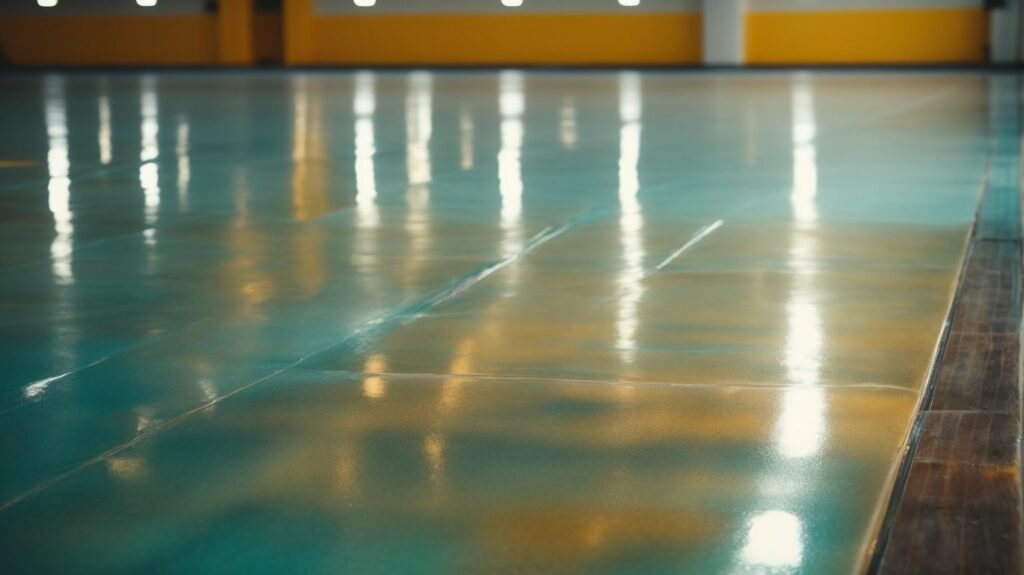
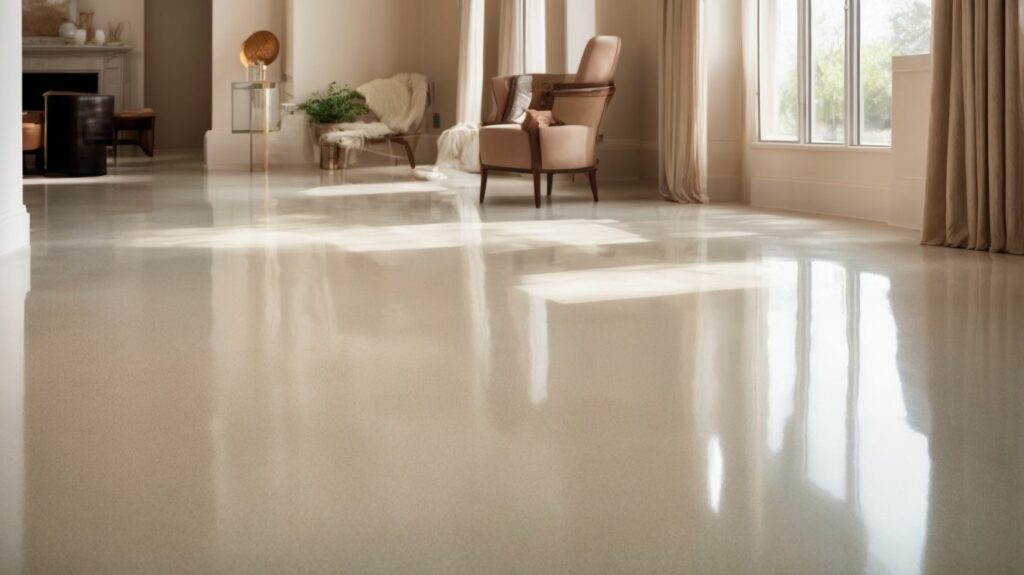
DIY epoxy resin flooring has gained popularity as a cost-effective and stylish option for transforming the look of floors. The benefits of epoxy resin flooring are numerous. Not only does it provide a durable and long-lasting surface, but it is also resistant to stains, chemicals, and abrasions. epoxy resin flooring offers a seamless and smooth finish, making it easy to clean and maintain.
Before embarking on the installation process, proper preparation and planning are crucial. This involves gathering the necessary tools and materials, preparing the subfloor by removing any dirt or debris, and calculating the amount of epoxy resin needed for the desired coverage.
The installation process consists of several steps, starting with the cleaning and degreasing of the subfloor to ensure proper adhesion. Any cracks or holes should be patched and repaired before applying a primer coat. Mixing and applying the epoxy resin is the next step, followed by the optional addition of decorative elements for a personalized touch. Finally, a topcoat is applied for added protection against daily wear and tear.
To ensure a successful installation, there are a few tips and tricks to keep in mind. Proper ventilation is crucial during the installation process to ensure the safety of the installer and achieve a smooth finish. Working in small sections allows for better control over the epoxy application and reduces the risk of mistakes. Once the epoxy resin has cured, sanding and buffing can be done to achieve a flawless and glossy finish. Lastly, it is essential to use proper protective gear, such as gloves and goggles, to protect oneself from the epoxy resin and any associated chemicals.
Maintaining epoxy resin flooring is relatively simple. Regular cleaning with a mild detergent and water is usually sufficient to keep the surface looking its best. However, it is important to avoid using abrasive cleaners or tools that could scratch the epoxy finish. With proper maintenance and care, epoxy resin flooring can provide a beautiful and durable flooring solution for years to come.
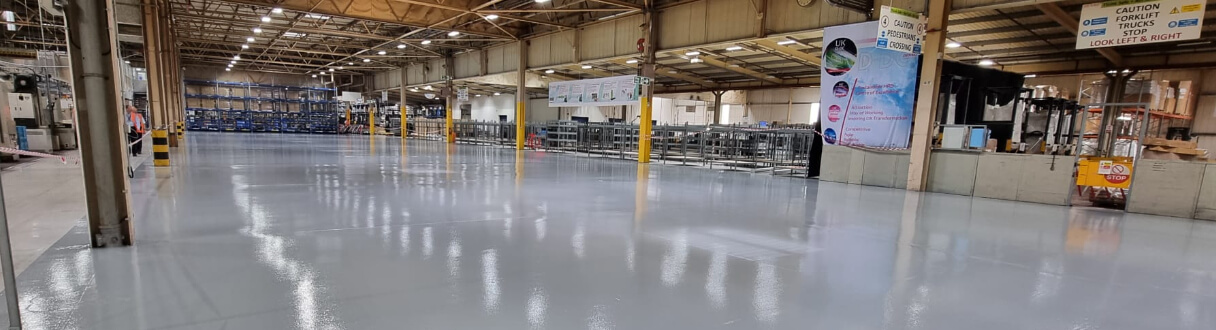
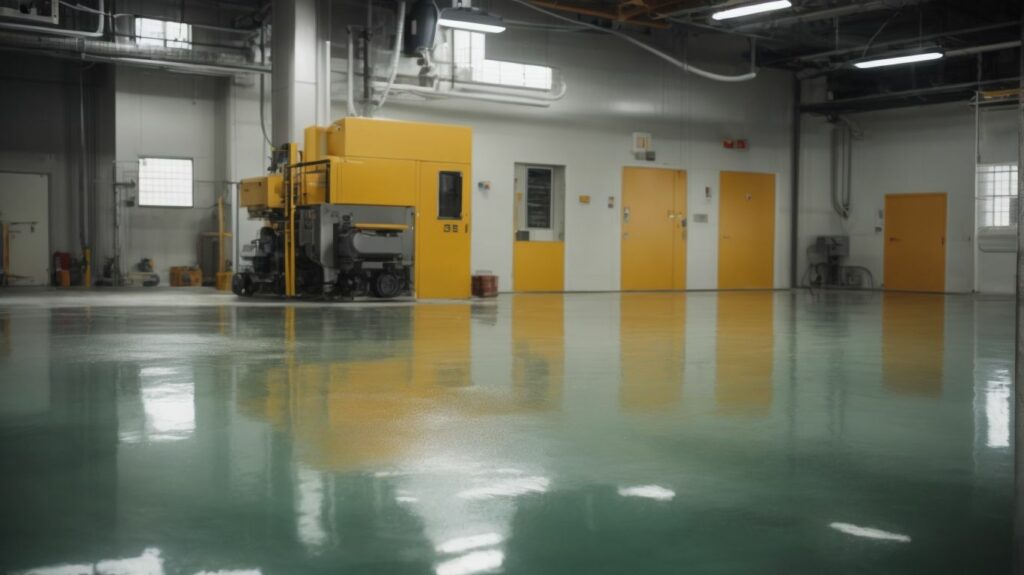
Epoxy resin flooring has numerous advantages that make it a popular choice for both residential and commercial spaces.
Preparation and Planning for Installation
When it comes to installing DIY epoxy resin flooring, preparation and planning are crucial. This section will guide you through the essential steps to take before starting your installation journey. You will learn how to gather all the necessary tools and materials, prepare your subfloor correctly, and calculate the ideal amount of epoxy resin required for a successful flooring project. Let’s get ready to create a stunning epoxy masterpiece by ensuring a rock-solid foundation!
Gathering the necessary tools and materials is essential when preparing to install DIY epoxy resin flooring. Here is a list of items you will need:
When I installed epoxy resin flooring in my garage, I took extra time to prepare the subfloor by filling in cracks and sanding it down. The result was a flawless finish that has withstood heavy foot traffic and spills without any issues. Properly preparing the subfloor made all the difference in the durability and longevity of the flooring.
To determine the amount of epoxy resin needed for your flooring project, you can follow these steps:
1. Measure the length and width of the area that needs to be covered in square feet.
2. Decide on the desired thickness of the epoxy resin coating in mils.
3. Multiply the square footage by the desired thickness to obtain the total volume in cubic feet.
4. Convert the volume from cubic feet to gallons by dividing it by 231 (since 1 gallon is equal to 231 cubic inches).
5. Consider any additional coats or layers that might be necessary and adjust the quantity accordingly.
6. Consult the manufacturer’s instructions or use an online epoxy resin calculator to ensure accuracy.
Remember, it is always better to have slightly more epoxy resin than not enough to guarantee complete coverage.
Get ready to transform your space with these simple steps to install epoxy resin flooring. From prepping the subfloor to mixing and applying the resin, we’ve got you covered. Discover how to clean and degrease your surface effectively. Learn the art of patching and repairing any imperfections. Be sure to apply a primer coat for optimal adhesion. And don’t forget to add your personal touch with decorative elements. Seal the deal with a protective topcoat. Let’s dive in and create a stunning epoxy resin floor!
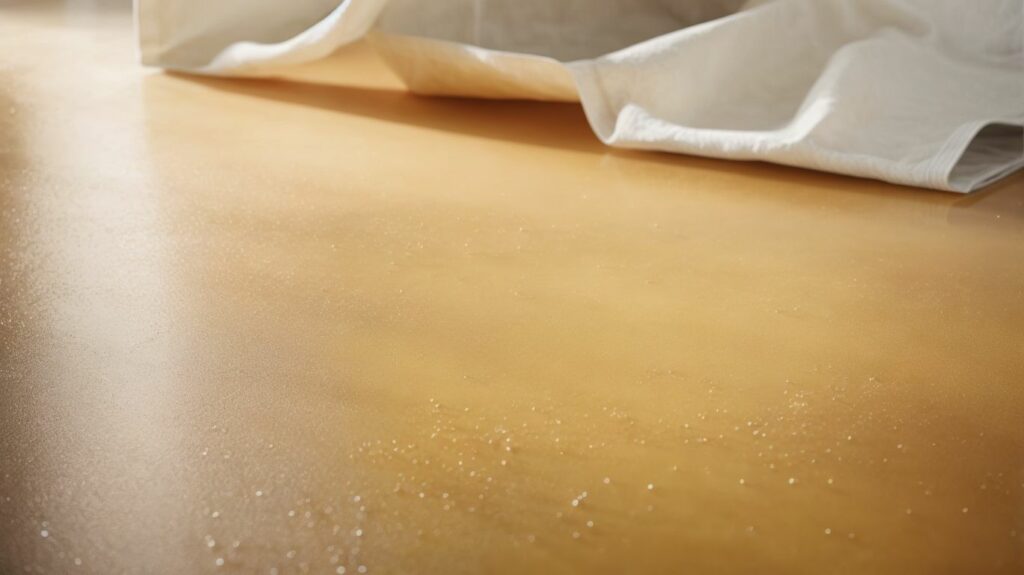
Step 1: Cleaning and degreasing the subfloor is an essential first step in the installation of epoxy resin flooring. Follow these key tasks:
Fact: Properly cleaning and degreasing the subfloor ensures optimal adhesion of the epoxy resin, resulting in a durable and long-lasting flooring surface.
To successfully patch and repair cracks or holes in epoxy resin flooring, follow these steps:
By following these steps, you can ensure that your epoxy resin flooring is free from any cracks or holes, providing a smooth and seamless finish.
Applying a primer coat is a crucial step in installing epoxy resin flooring. This coat acts as a base layer that improves the adhesion between the subfloor and the epoxy resin, resulting in a durable and long-lasting finish. Here are the steps involved in applying a primer coat:
Following these steps will help create a smooth and even base for the epoxy resin, ensuring a successful installation of epoxy resin flooring.
When it comes to installing epoxy resin flooring, the fourth step is crucial – mixing and applying the epoxy resin. Follow these steps for a successful application:
To achieve the best results, remember to wear proper protective gear and work in a well-ventilated area. Following these steps will help you achieve a beautiful and durable epoxy resin flooring.
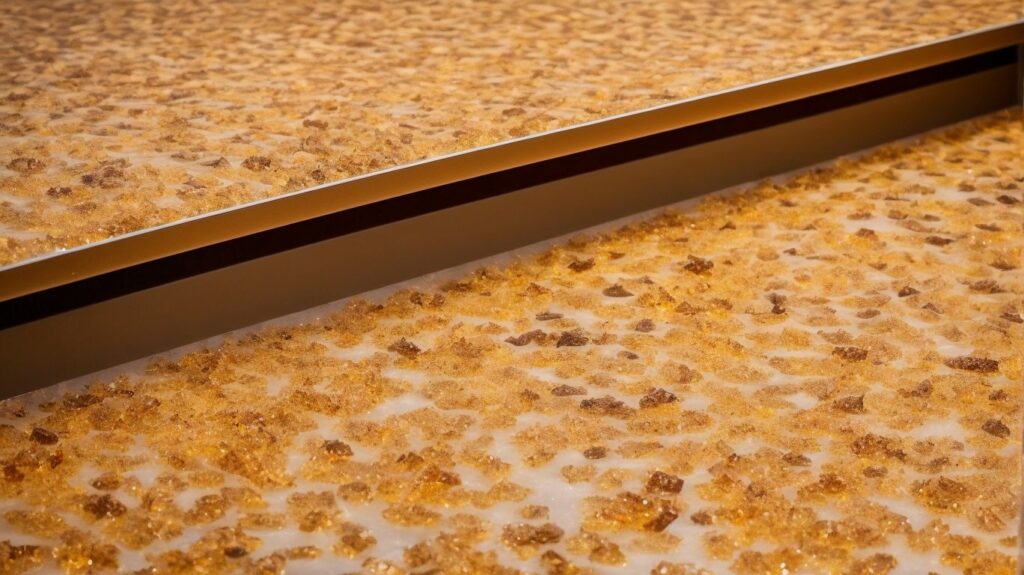
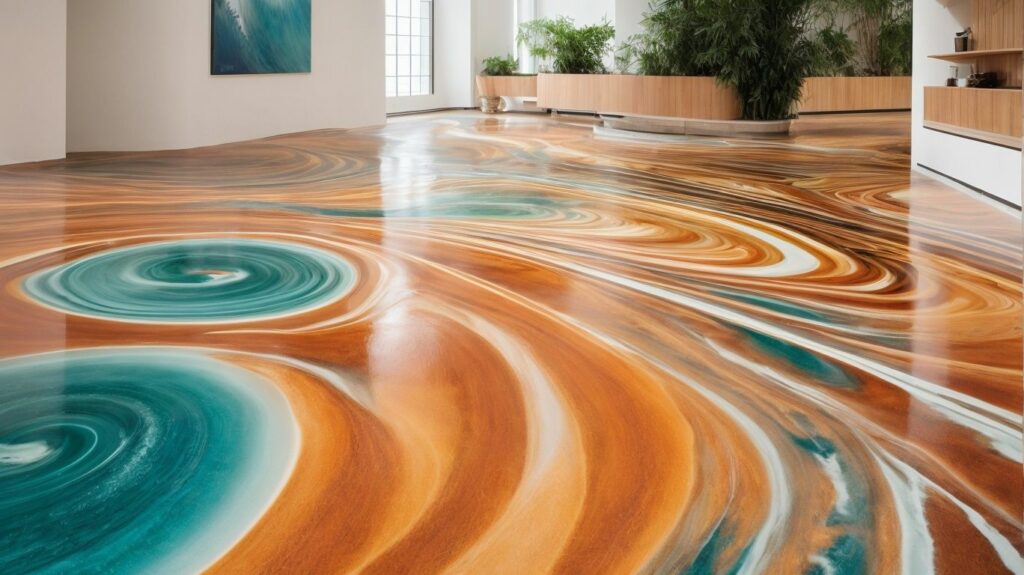
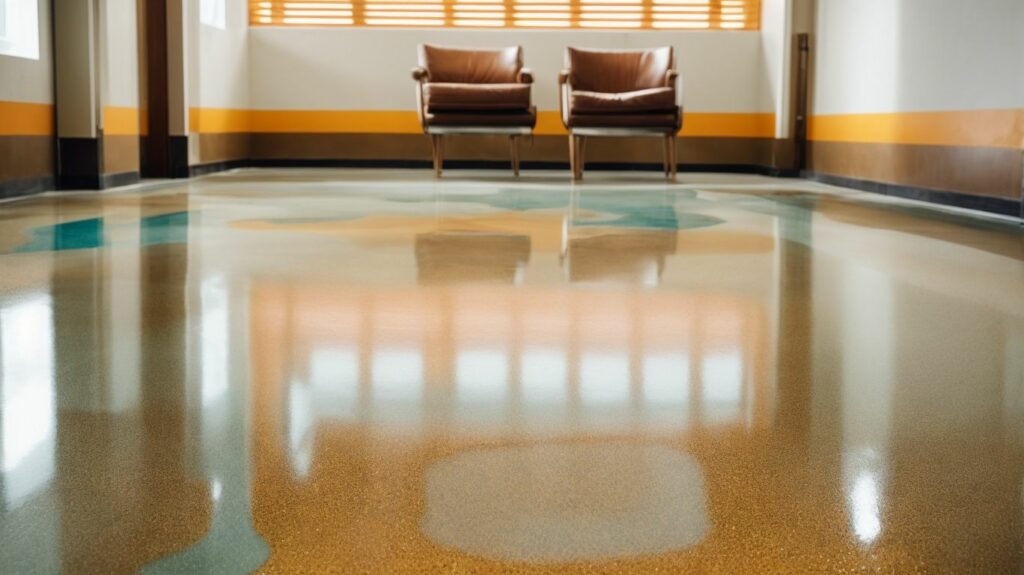
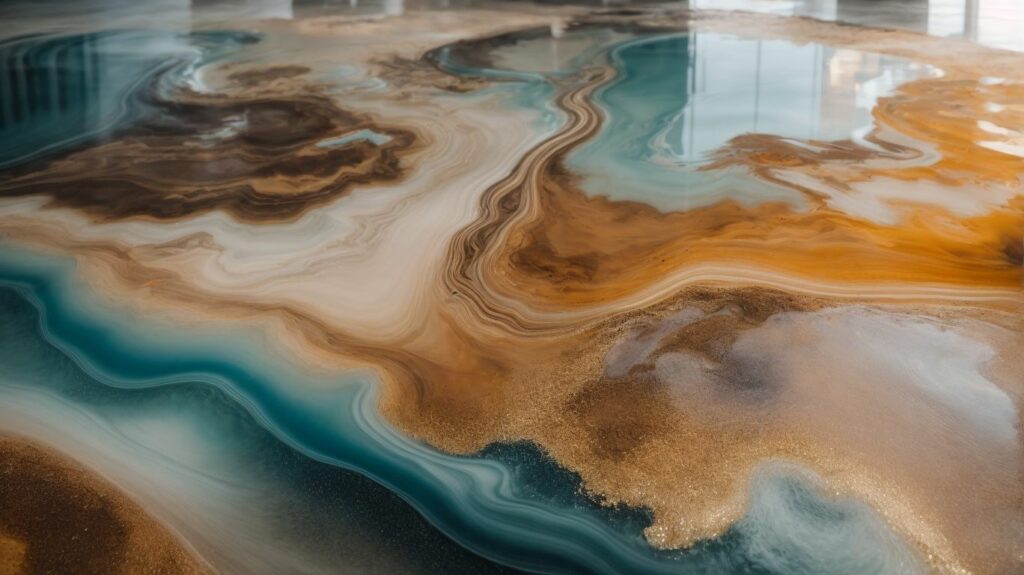
Step 5: Adding Decorative Elements
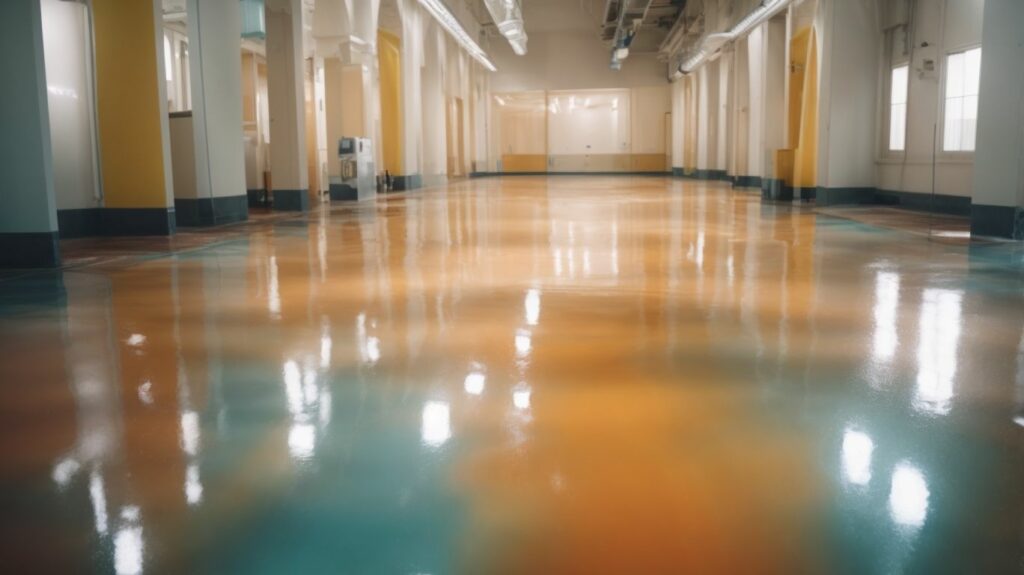
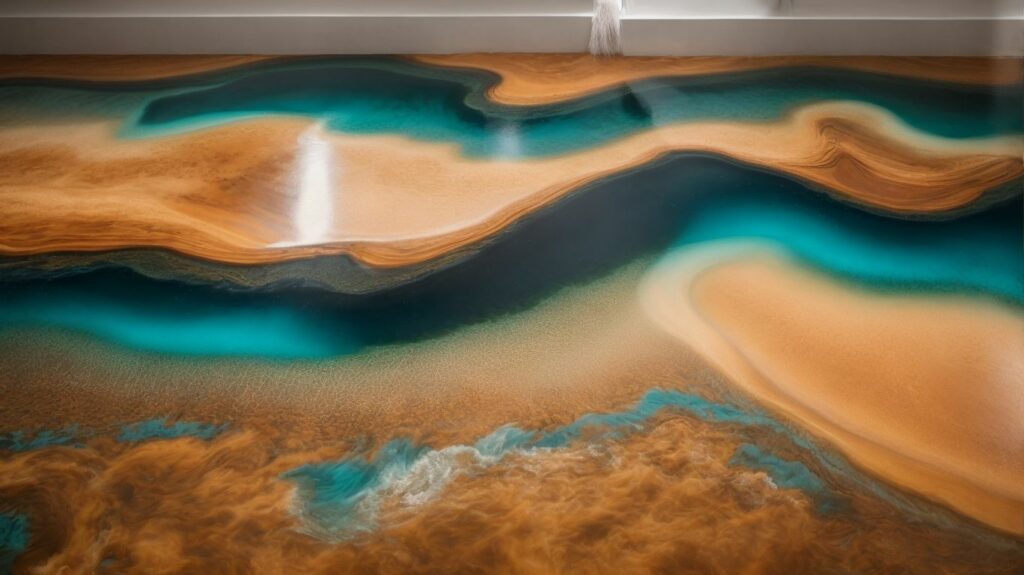
To enhance the aesthetic appeal of your epoxy resin flooring, you can add decorative elements during the installation process. Here are the steps to follow:
Remember to be creative and experiment with different combinations of decorative elements to achieve the desired look for your epoxy resin flooring.
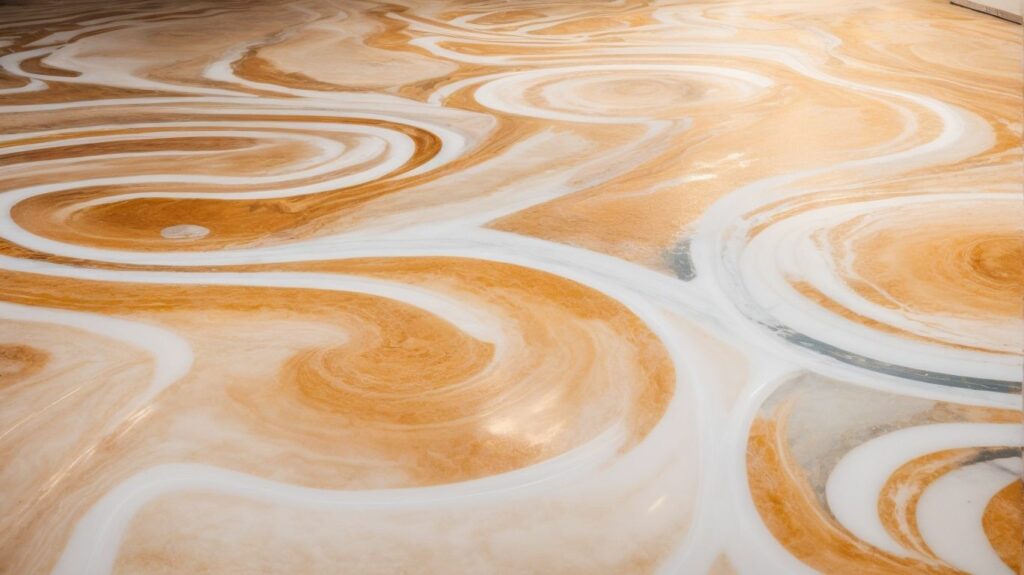
A couple wanted to create a unique and personalised touch to their basement by installing epoxy resin flooring. They decided to add decorative elements in the form of custom-designed coloured flakes that represented their favourite sports teams. The end result was a stunning and customised sports-themed floor that became the envy of their friends and family. The decorative elements not only added visual interest but also reflected their passion for sports.
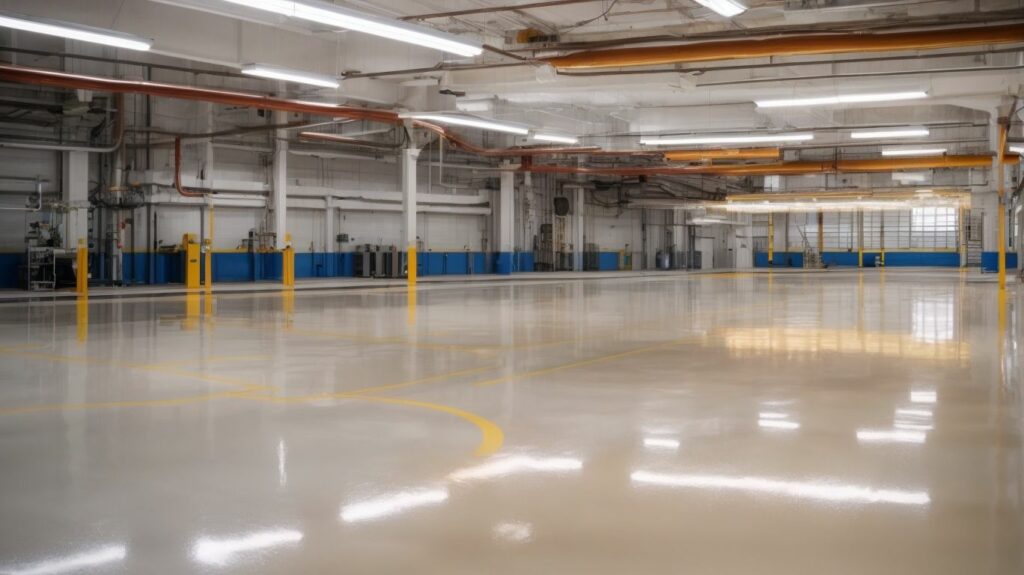
Applying a topcoat is the final step in installing epoxy resin flooring, providing protection and durability. Here is a list of steps to follow:
Get ready to become a pro at DIY epoxy resin flooring with these crucial tips and tricks to ensure a successful installation. From ensuring adequate ventilation to working in small sections, sanding and buffing for a seamless finish, and using appropriate protective equipment – this section provides comprehensive coverage. Bid farewell to expensive professional installations and say hello to a magnificent, long-lasting epoxy resin floor that you can take pride in.
Proper ventilation is crucial during the installation of epoxy resin flooring to ensure the health and safety of individuals in the area. Here are some tips to guarantee proper ventilation during the installation process:
By ensuring proper ventilation, you can create a safer environment for installation and minimize exposure to potentially harmful fumes.
When installing epoxy resin flooring, it is important to work in small sections in order to achieve a successful outcome. Here are the steps to follow when working in small sections:
By working in small sections, you can ensure precision, maintain control, and achieve a seamless and professional finish for your epoxy resin flooring installation.
Sanding and buffing are important steps in achieving a smooth finish for epoxy resin flooring. Here is a step-by-step guide to help you achieve professional results:
I recently installed epoxy resin flooring in my garage and followed these sanding and buffing steps. The result was a flawless, smooth surface that impressed all my friends. The shine and durability of the floor exceeded my expectations, making it a fantastic addition to my home. Sanding and buffing truly made a significant difference in achieving the perfect finish for my epoxy resin flooring.
Using proper protective gear is essential when installing epoxy resin flooring to ensure safety and prevent accidents. Here are the necessary steps to follow:
Throughout the history of epoxy resin flooring, professionals and DIY enthusiasts have realized the importance of using proper protective gear. This realization came after incidents of skin irritation and respiratory issues. Today, the use of protective gear has become standard practice in the industry, ensuring the safety and well-being of those involved in the installation process.
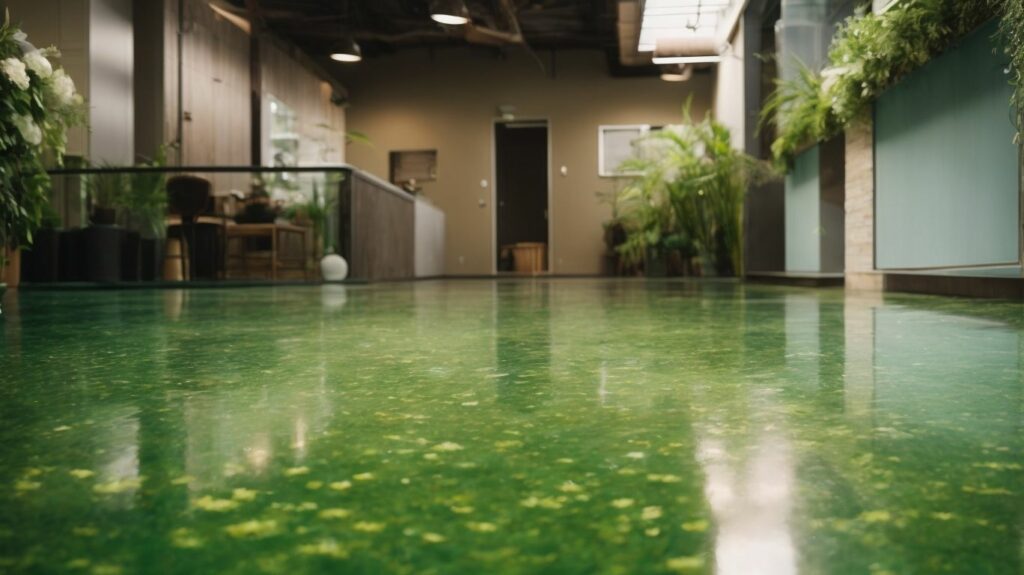
Maintaining and caring for epoxy resin flooring is important to ensure its longevity and aesthetic appeal. Here are some tips to help you keep your epoxy resin flooring in top condition:
Fact: Proper maintenance and care for epoxy resin flooring can significantly extend its lifespan, helping you enjoy its durable and stunning finish for years to come.
When installing DIY epoxy resin flooring for the first time, it is important to familiarize yourself with the product and watch the installation guide. Gather all the necessary tools in advance, including spreading trowel, clean 5-gallon bucket, finishing trowel, 9 Amp mixing drill, safety glasses, gloves, and kneeboard. Properly prepare the substrate by ensuring it is clean, dry, and lightly sanded for a long-lasting bond.
If you want to achieve a lighter shade than the substrate when installing epoxy resin flooring, it is recommended to apply a white primer. This will help create a cohesive bond and ensure a good-looking finish.
To prevent condensation and uneven floors when applying epoxy flooring, make sure not to install it when the dew point is within five degrees of the working area’s temperature. You can check The Weather Channel’s interactive map to determine the current dew point in your area.
Yes, epoxy flooring can be installed on a wooden floor or high-gloss substrate. However, it is recommended to apply a primer in such cases to ensure a cohesive bond and a good-looking finish.
Everlast Epoxy flooring cures fully in 8-12 hours at temperatures above 70 degrees Fahrenheit. However, in colder conditions, it can take up to three days to cure. After curing, you can apply the glaze coat to achieve the desired outcome.
You can contact Everlast Epoxy’s team at (800) 708 9870 for more advice and support during the epoxy resin flooring installation process. They will be able to provide you with further guidance and assistance based on your specific installation needs.


We Aim To Reply To All Enquiries With-in 24-Hours