24+ Years Experience
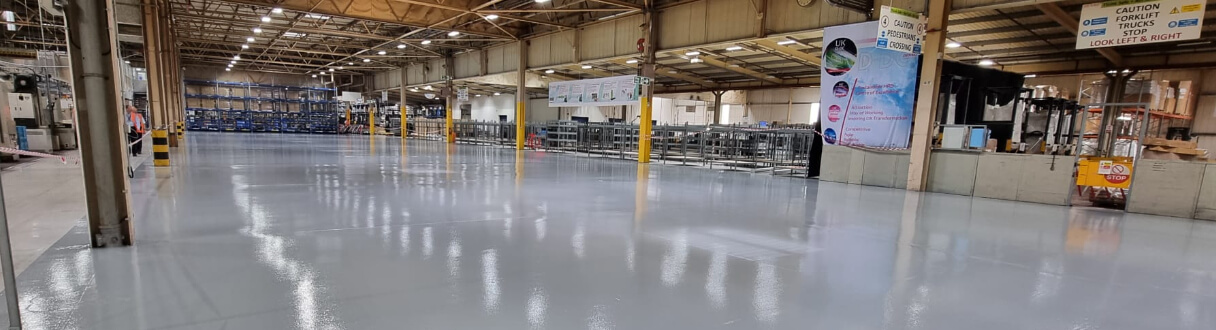
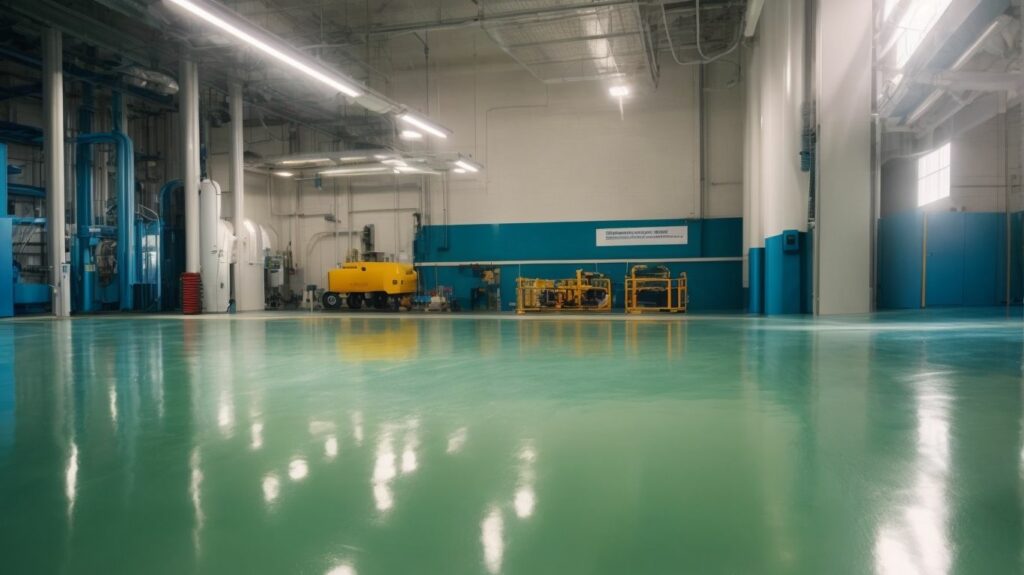
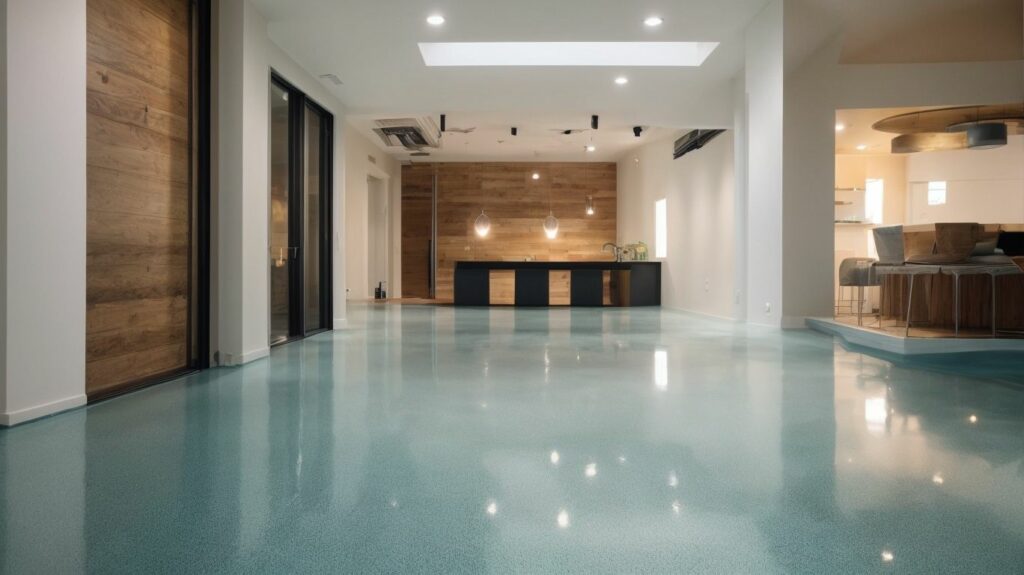
Specialist Epoxy Resin Flooring
Enquire Today For A Free No Obligation Quote
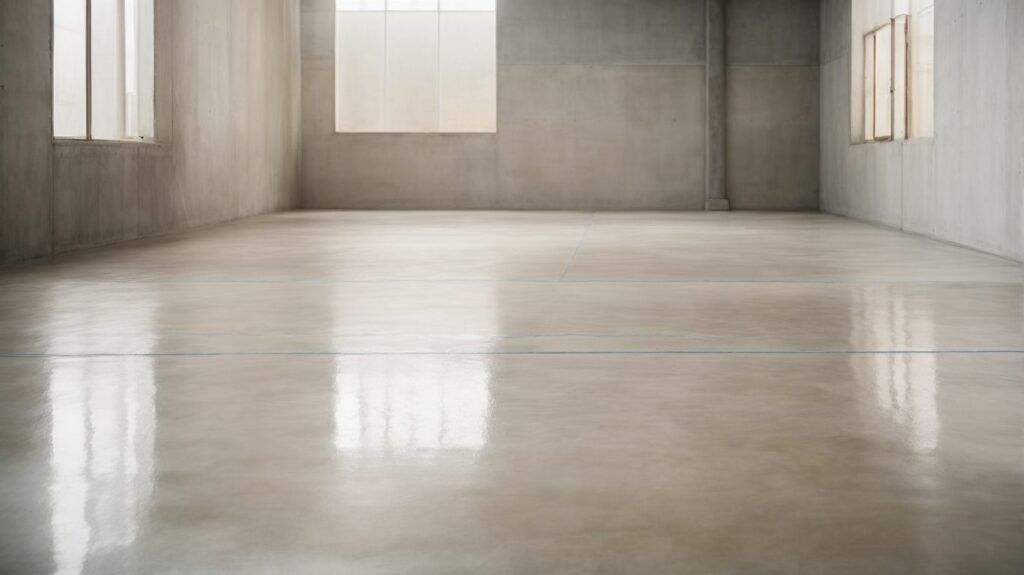
Understanding the Importance of Surface Preparation
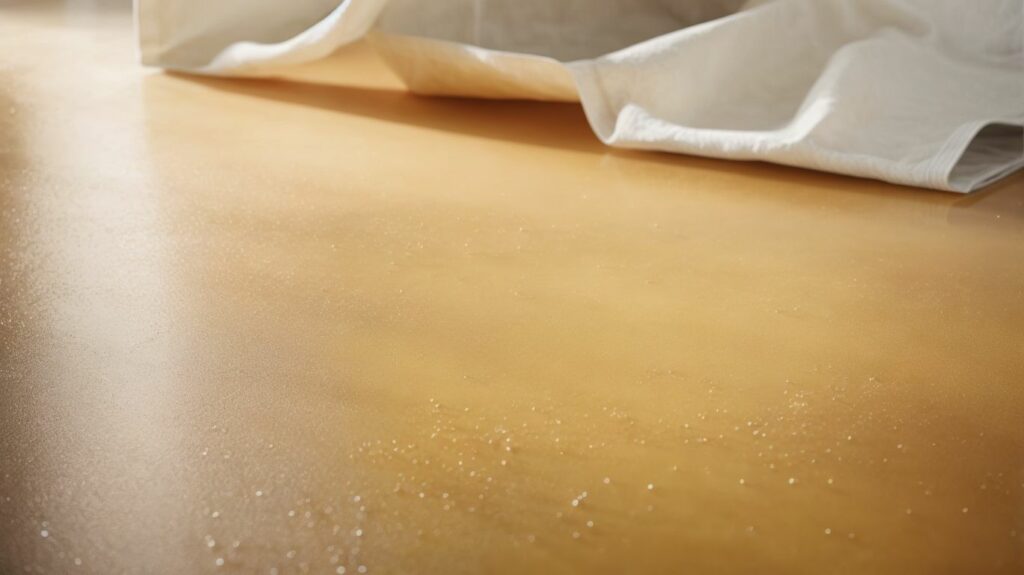
Surface preparation plays a crucial role in the successful installation of epoxy resin flooring. Properly preparing the surface is necessary to ensure a durable and long-lasting finish. Without adequate surface preparation, the epoxy resin may not bond correctly, leading to issues such as delamination or premature wear.
Why is Surface Preparation Necessary for Epoxy Resin Flooring?
Surface preparation is essential for several reasons. Firstly, it helps to remove any existing contaminants, such as dirt, dust, grease, or oil, which can hinder the adhesion of the epoxy resin. By thoroughly cleaning the surface, you create a clean and smooth substrate for the resin to adhere to.
Surface preparation allows for the identification and repair of any cracks, holes, or imperfections in the substrate. These flaws, if left untreated, can compromise the integrity of the epoxy resin flooring and lead to issues in the future.
Furthermore, surface preparation helps to ensure proper moisture levels in the substrate. Excessive moisture can cause the epoxy resin to bubble or peel, resulting in failure of the flooring system. By assessing and addressing moisture issues during the preparation stage, you can mitigate potential problems and ensure a successful installation.
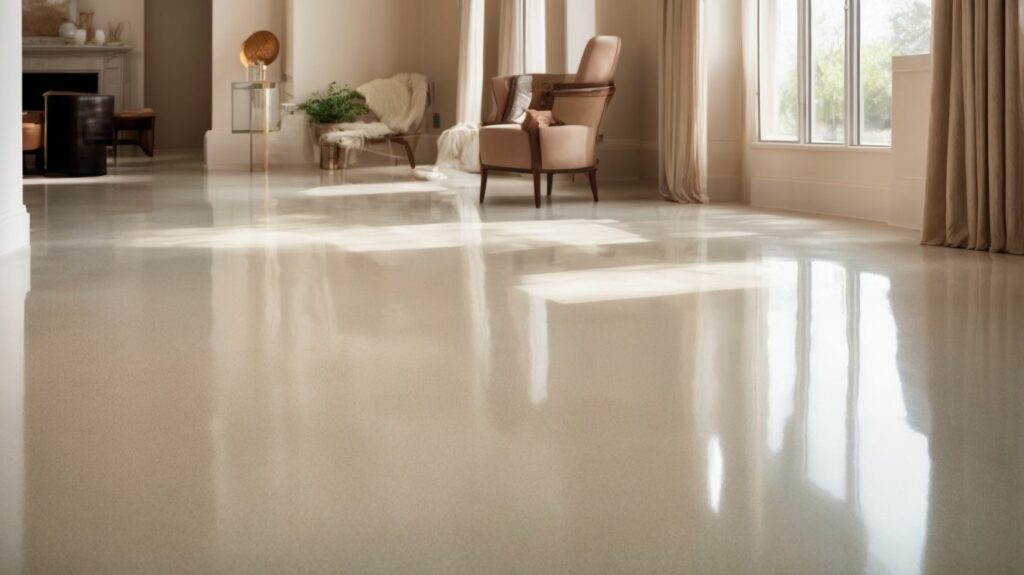
Proper surface preparation is essential for a successful installation of epoxy resin flooring. By recognising the significance of surface preparation, you can guarantee a durable and long-lasting finish. Here are the key steps to follow:
Remember, taking the time to appropriately prepare the surface will significantly enhance the performance and longevity of your epoxy resin flooring. Do not rush through this critical step; the effort is worthwhile in the long run.
Surface preparation is essential for epoxy resin flooring installations. It ensures proper adhesion, durability, and a successful outcome. Without adequate surface preparation, the epoxy coating may fail to bond with the substrate, leading to issues such as peeling, blistering, or delamination. Surface preparation involves steps such as clearing and cleaning the surface, repairing cracks and imperfections, ensuring proper moisture levels, removing existing coatings or paint, and abrading or grinding the surface. These steps create a clean, roughened surface that allows the epoxy to adhere effectively. By investing time in surface preparation, you can avoid costly and time-consuming repairs in the future.
A step-by-step guide to preparing your surface for epoxy resin flooring installation is essential for achieving a durable and flawless finish. This guide will take you through the necessary tasks involved in this process. It includes clearing and cleaning the surface, repairing cracks and imperfections, ensuring adequate moisture levels, removing existing coatings or paint, abrading or grinding the surface, and finally, vacuuming and cleaning it again. Each sub-section will cover the necessary actions required to create the ideal foundation for your epoxy resin flooring.
Cleaning the surface is the first step in preparing it for epoxy resin flooring installation. Follow these steps to ensure a clean and ready surface:
Suggestions for effective surface cleaning include using a stiff brush or pressure washer for stubborn stains and using a degreaser for oily areas. Ensure that the surface is completely clean and dry before proceeding to the next step for a successful epoxy resin flooring installation.
Inspect the surface for any cracks, chips, or imperfections that require repair. Use epoxy filler or patching compound to fill in the cracks and smooth out the surface. Follow the manufacturer’s instructions for mixing and applying the filler. Allow the filler to dry and cure completely before proceeding to the next step. Sand down the filled areas to create a smooth and even surface. Clean the sanded areas to remove any dust or debris.
To achieve a successful epoxy resin flooring installation, it is vital to manage moisture levels properly during the surface preparation process. Here are the steps to ensure proper moisture levels:
By following these steps, you can ensure that the substrate has the right moisture levels and reduce the risk of adhesion issues, resulting in a durable and long-lasting epoxy resin flooring.
To properly prepare the surface for epoxy resin flooring installation, it is important to follow step 4, which involves removing existing coatings or paint. This step is crucial as it ensures proper adhesion and a seamless finish. Here is a step-by-step guide to help you with this process:
By following these steps, you can effectively remove existing coatings or paint and create an ideal surface for epoxy resin flooring installation. It is important to always prioritise safety and wear appropriate protective gear during the process.
To achieve a successful epoxy resin flooring installation, it is crucial to abrade or grind the surface. This step ensures proper adhesion between the epoxy resin and the substrate. Here is a step-by-step process for abrading or grinding the surface:
The process of abrading or grinding surfaces for flooring preparation dates back centuries and was initially used to create rough textures for better material adhesion. Ancient civilizations used various tools such as stones and sand to grind surfaces. This early technique laid the foundation for modern abrading and grinding methods used in epoxy resin flooring installations today.
Step 6: Vacuuming and Cleaning the Surface Again
After abrading or grinding the surface, it is crucial to thoroughly clean and vacuum the area to remove any dust, debris, and loose particles. This step ensures that the surface is completely free from any contaminants that could affect the adhesion of the epoxy resin. A clean surface will also result in a smoother and more professional-looking finish.
The practice of thorough surface cleaning and preparation dates back centuries. For instance, ancient Egyptian artisans meticulously cleaned and smoothed surfaces before applying paint or decorative finishes to ensure the best possible results. This attention to detail in surface preparation has been passed down through generations and continues to be a vital step in various applications, including epoxy resin flooring.
Common Mistakes to Avoid during Surface Preparation
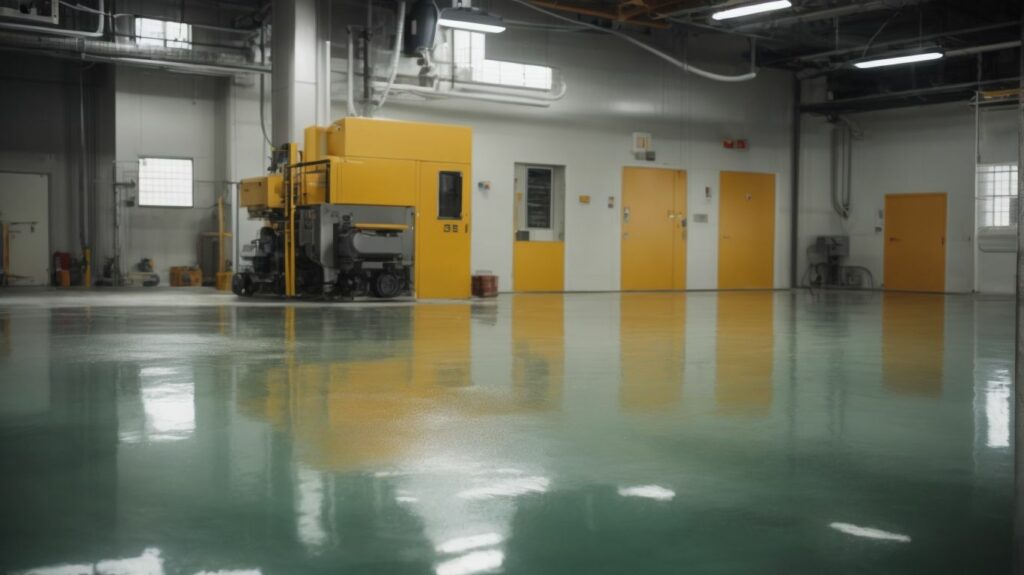
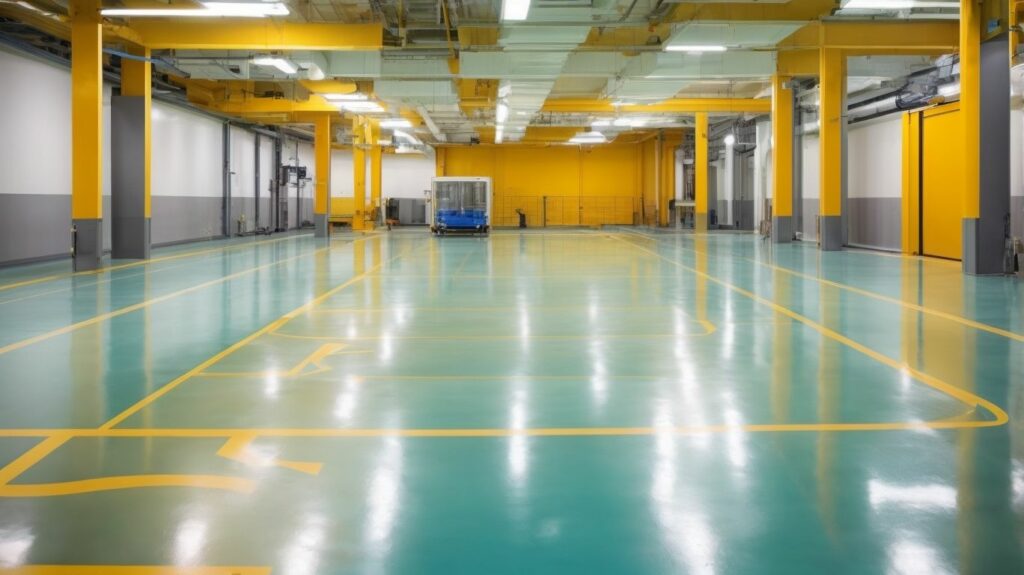
Floor preparation is crucial for epoxy resin flooring installation because it ensures the proper adhesion of the epoxy to the substrate. Without proper preparation, the flooring can crack, delaminate, or fail to adhere properly.
Some important steps involved in floor preparation for epoxy resin flooring include cleaning the floor, checking the state of the concrete, testing for water vapor transmission, leveling the surface, and patching any holes or cracks in the concrete. These steps ensure a smooth and even installation.
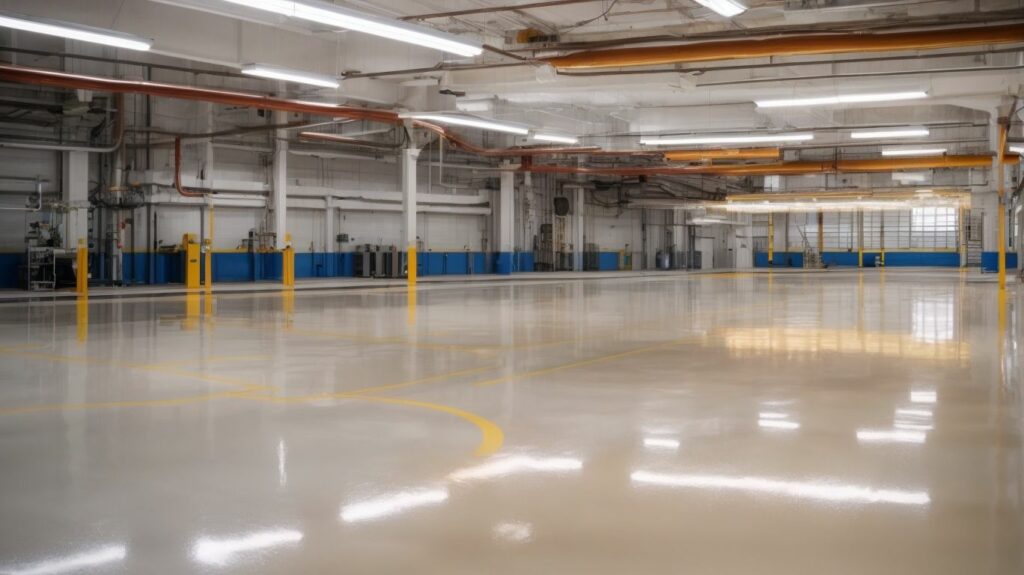
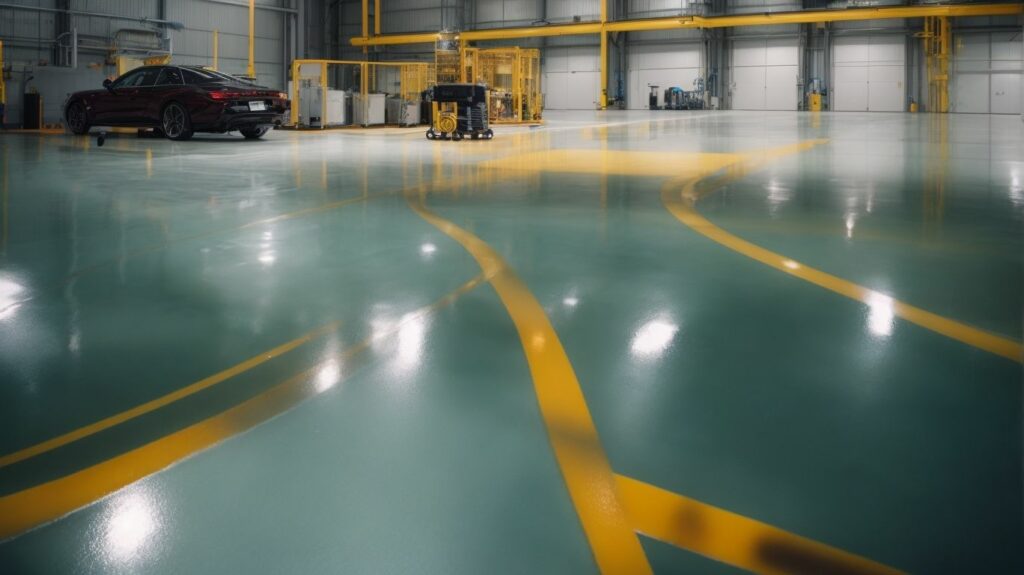
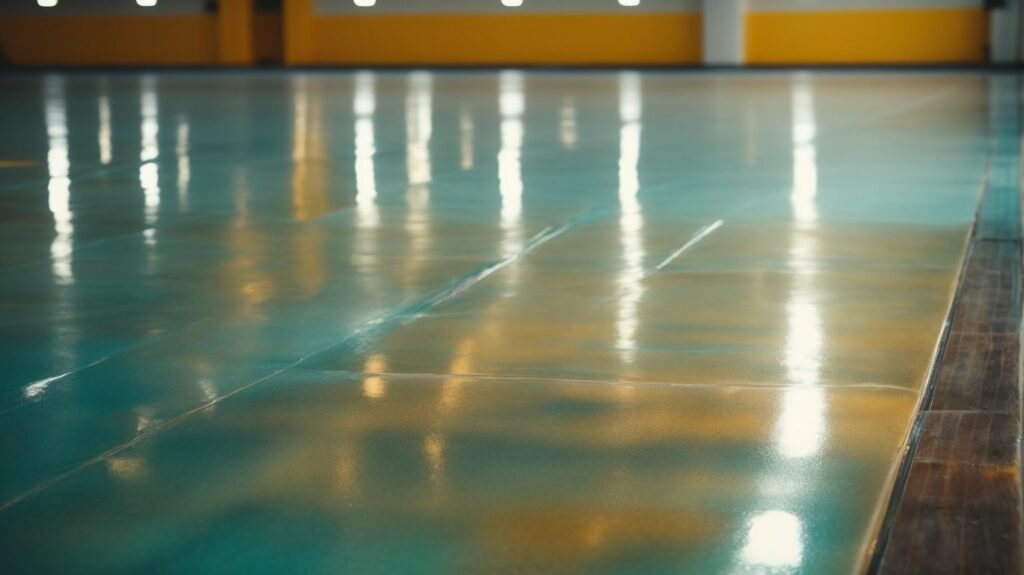
The recommended floor preparation methods for epoxy resin flooring include diamond grinding and shot blasting. Diamond grinding uses state-of-the-art machinery to mechanically clean the surface and provide a smooth and even finish. Shot blasting uses abrasive steel ball bearings to etch away contaminants and prepare the surface for epoxy application.
To ensure the longevity of epoxy floors, it is important to properly prepare the floor before installation. This includes repairing any cracks or imperfections, ensuring the substrate is structurally sound, and using appropriate products for patching. Additionally, regular cleaning and maintenance can help protect the epoxy floors from wear and tear.
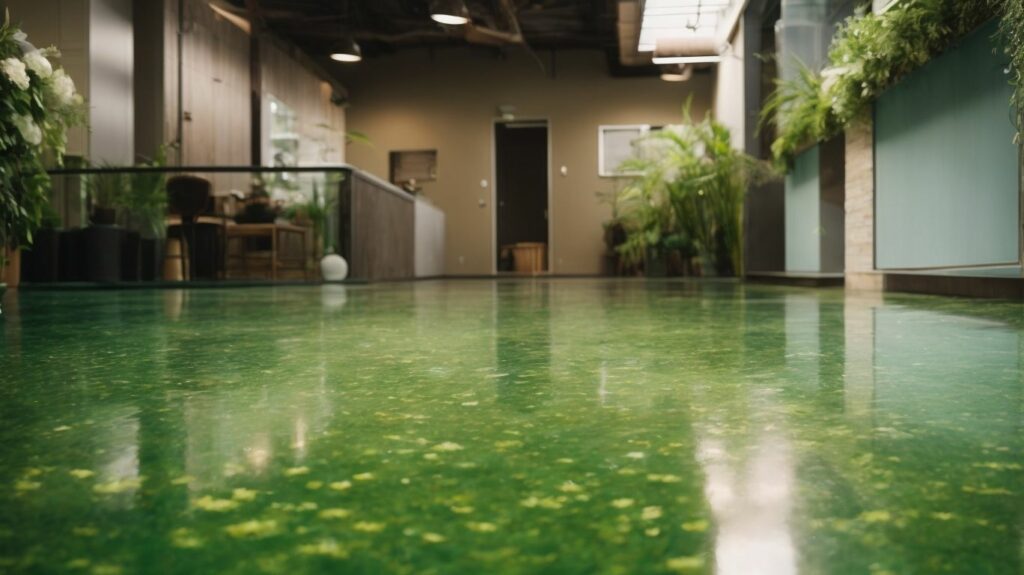
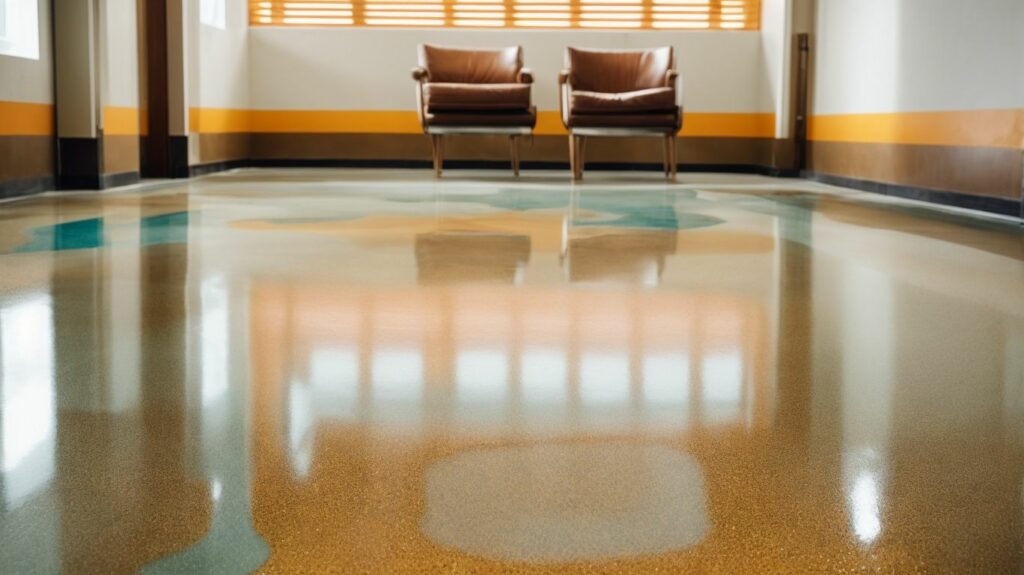
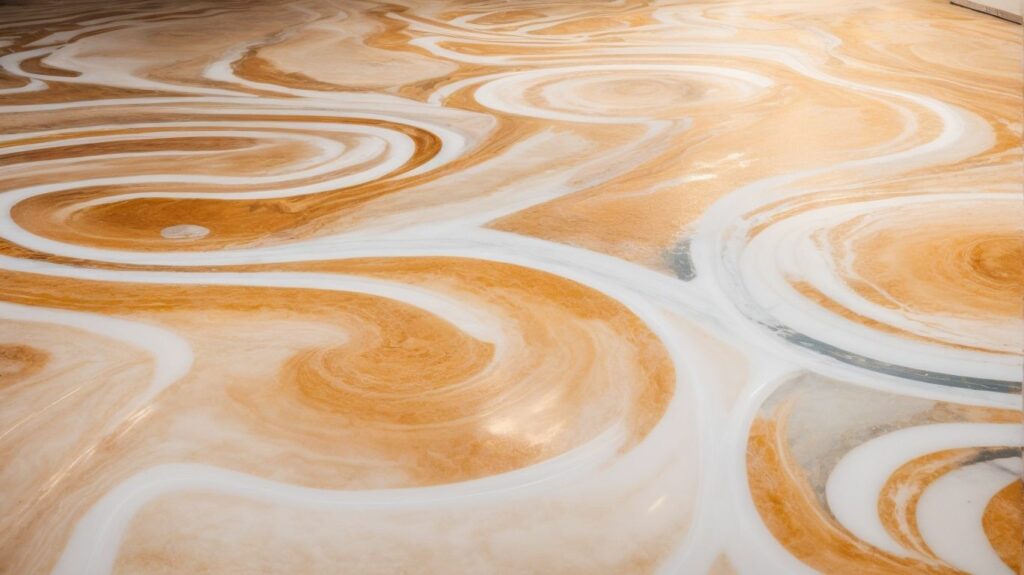
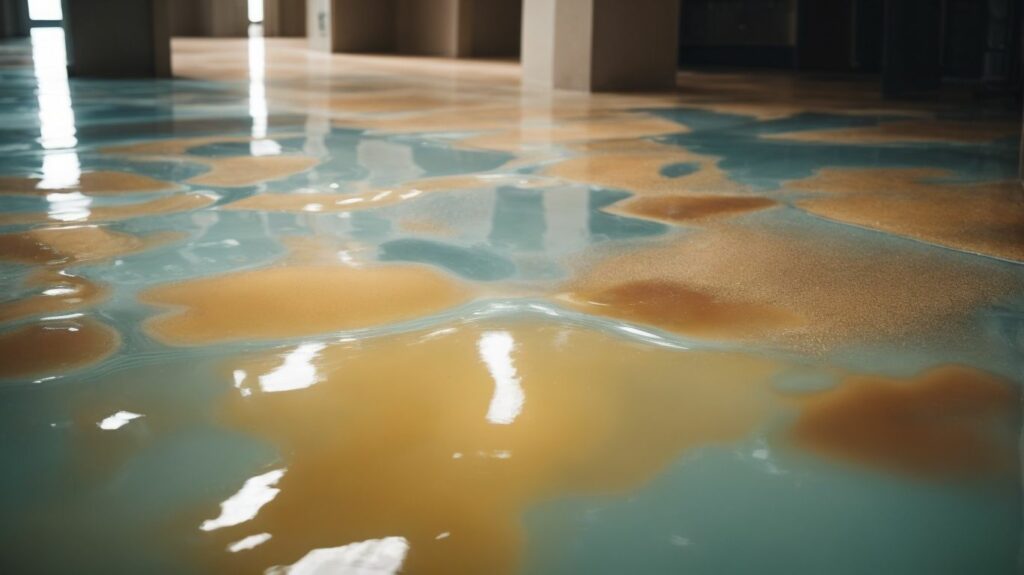
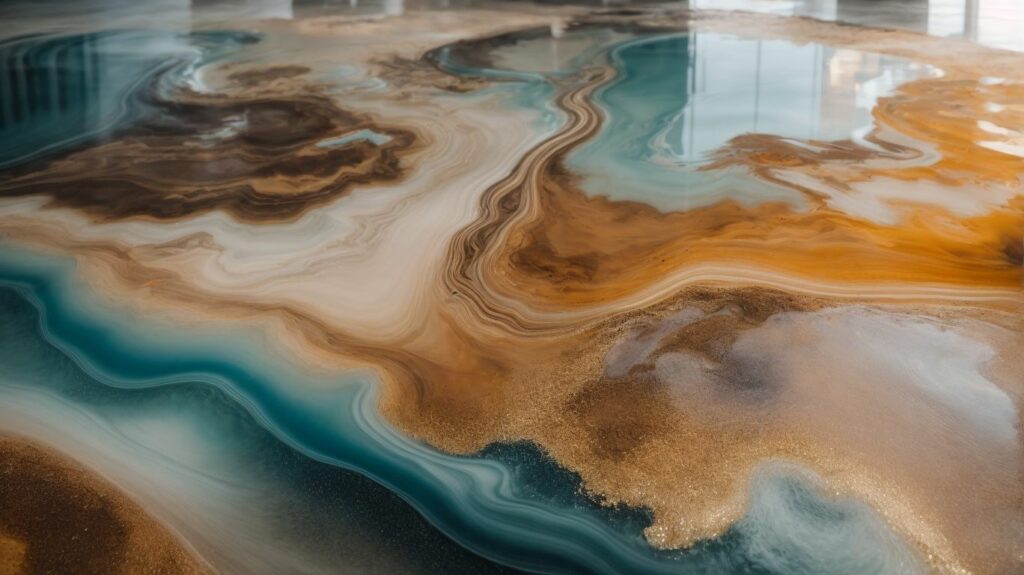
Yes, epoxy resin flooring can be installed over various surfaces such as concrete, wood, linoleum, or ceramic tile. However, each surface requires specific preparation methods to ensure proper adhesion and a high-quality finish. The state of the surface and its compatibility with epoxy must be taken into consideration during the preparation process.
Yes, testing for moisture levels is important before installing epoxy resin flooring. Excessive moisture can negatively impact the adhesion of the epoxy and lead to problems such as peeling or cracking. By testing for water vapor transmission, you can ensure that the substrate is suitable for epoxy application and that the final result will be aesthetically pleasing and durable.


We Aim To Reply To All Enquiries With-in 24-Hours