24+ Years Experience
Specialist Epoxy Resin Flooring
Enquire Today For A Free No Obligation Quote
The Ultimate Guide to Installing Epoxy Resin Flooring in Your Home
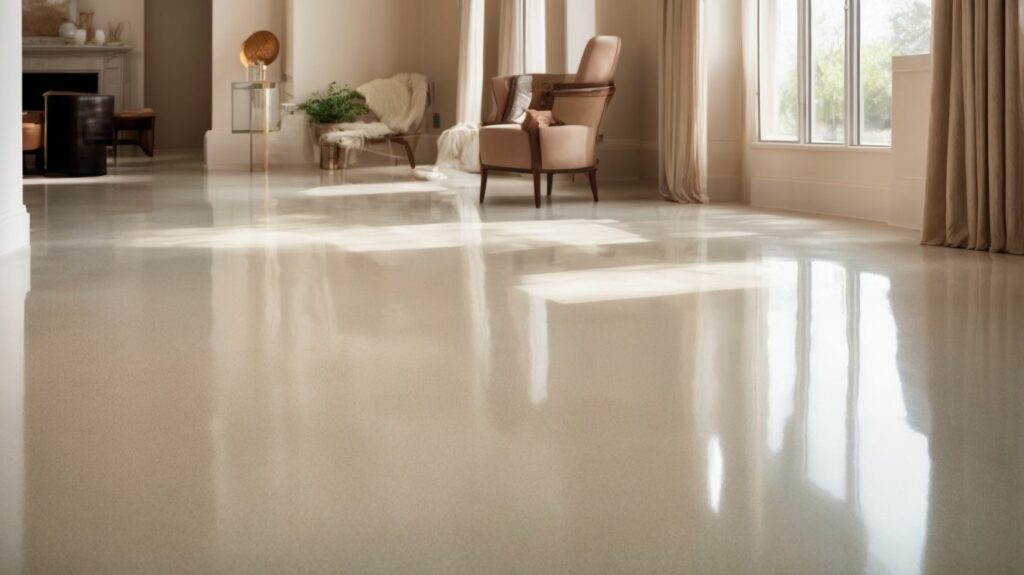
An Introduction to Epoxy Resin Flooring
Epoxy resin flooring is a popular choice for homeowners looking to enhance the durability, appearance, and functionality of their floors. It is a type of flooring system that consists of multiple layers of epoxy resin, a hardening agent, and other additives. This guide will provide you with a comprehensive overview of epoxy resin flooring and the step-by-step process of installing it in your home.
Advantages of Epoxy Resin Flooring
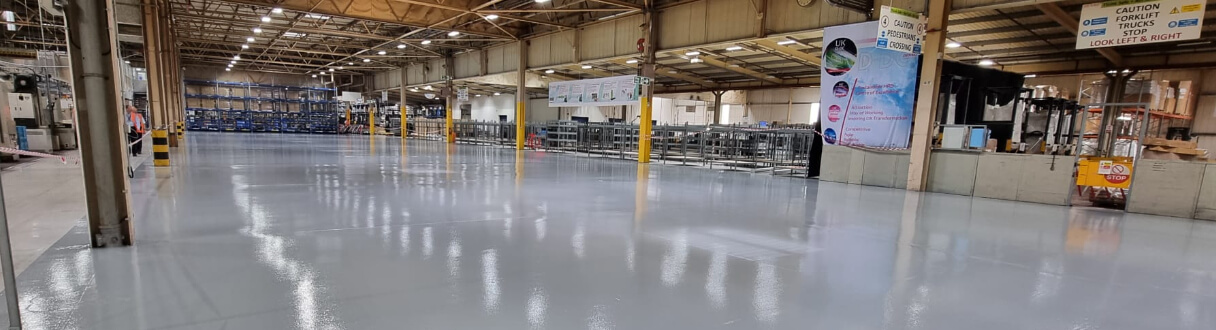
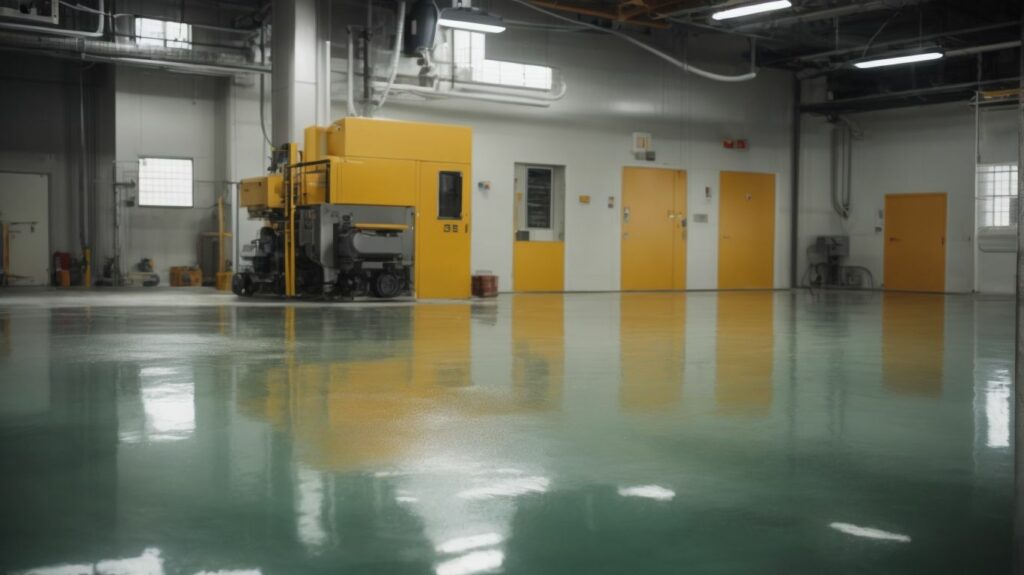
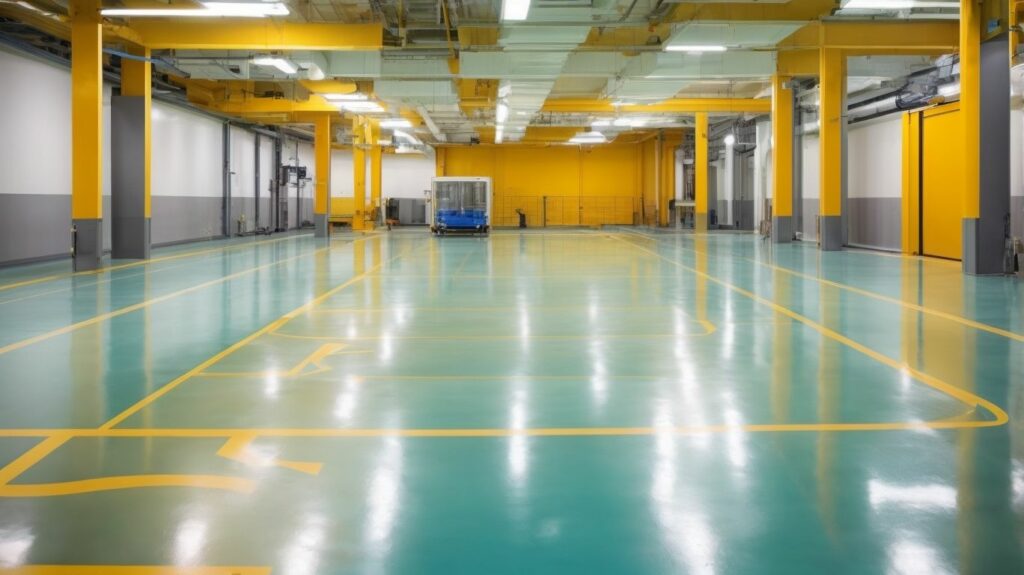
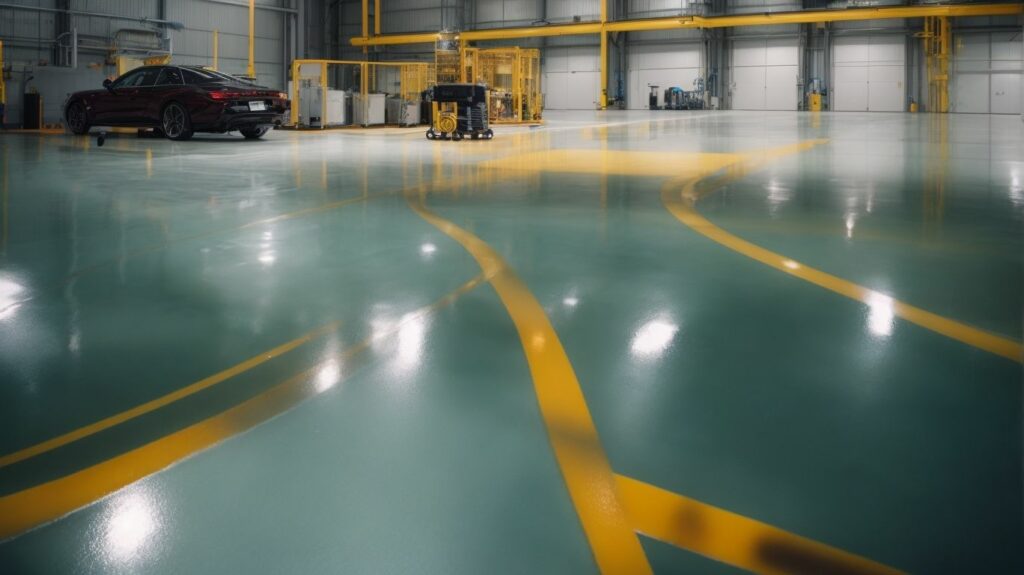
Epoxy resin flooring offers numerous benefits that make it an excellent choice for residential applications. It is highly resistant to stains, chemicals, moisture, and damage, making it suitable for high-traffic areas such as kitchens, bathrooms, and garages. Epoxy resin flooring is easy to clean and maintain, providing a long-lasting and attractive flooring solution for your home.
Preparation and Planning
Before installing epoxy resin flooring, proper preparation and planning are crucial. This involves assessing the existing flooring surface to ensure it is suitable for epoxy resin application, cleaning and repairing the subfloor as needed, and calculating the required materials and budget for the project. Adequate preparation will ensure a smooth and successful installation process.
Types of Epoxy Resin Flooring
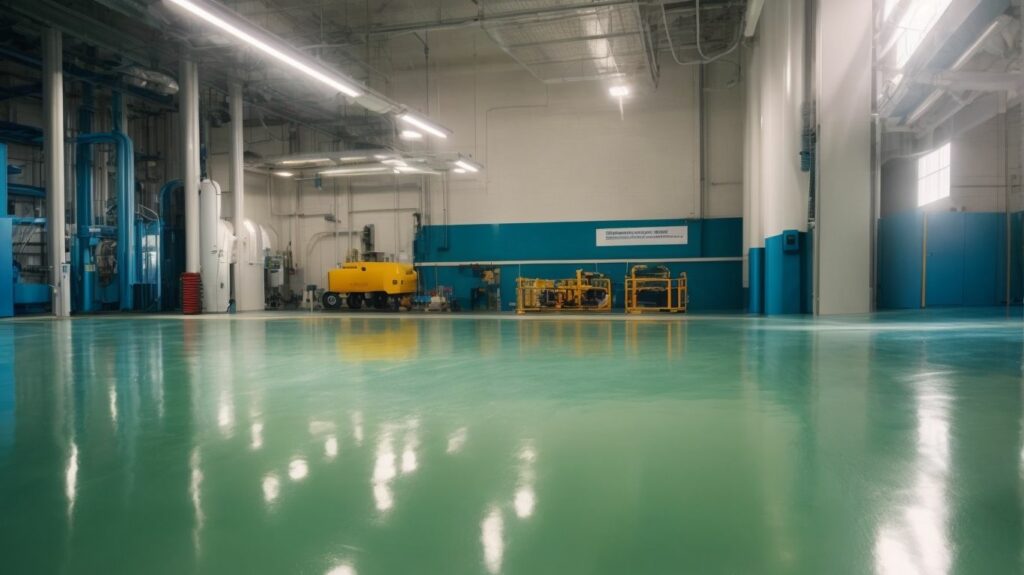
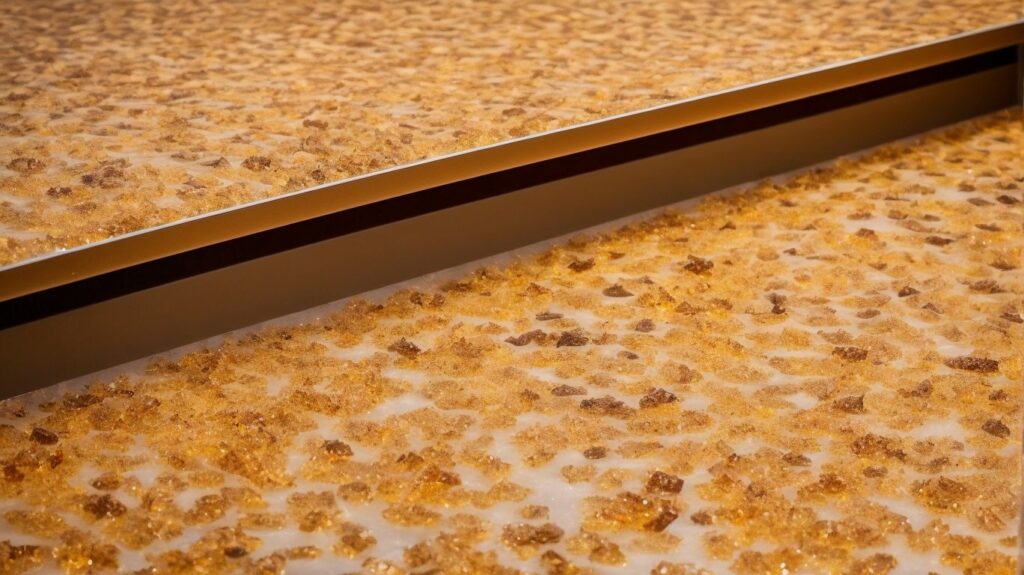
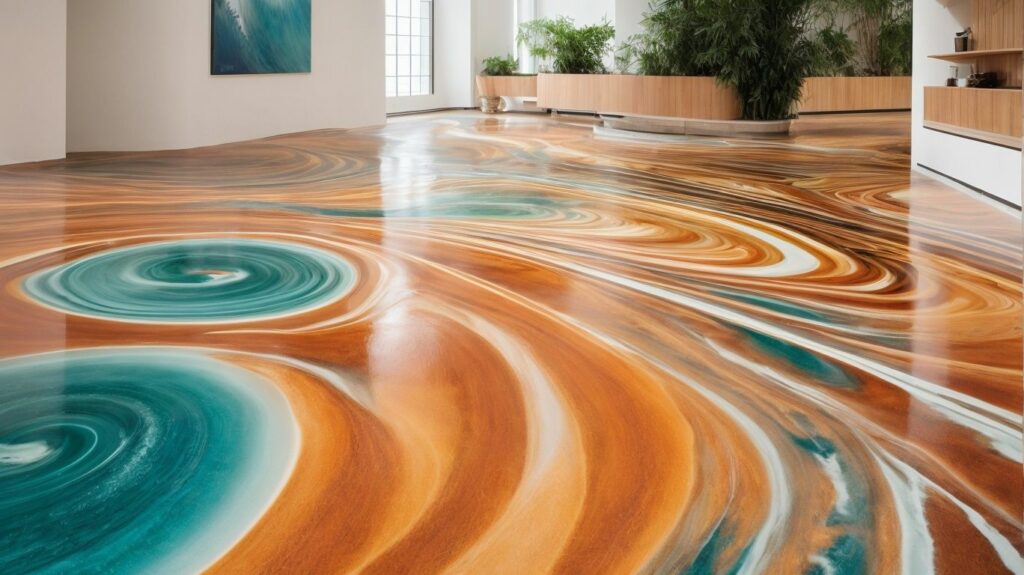
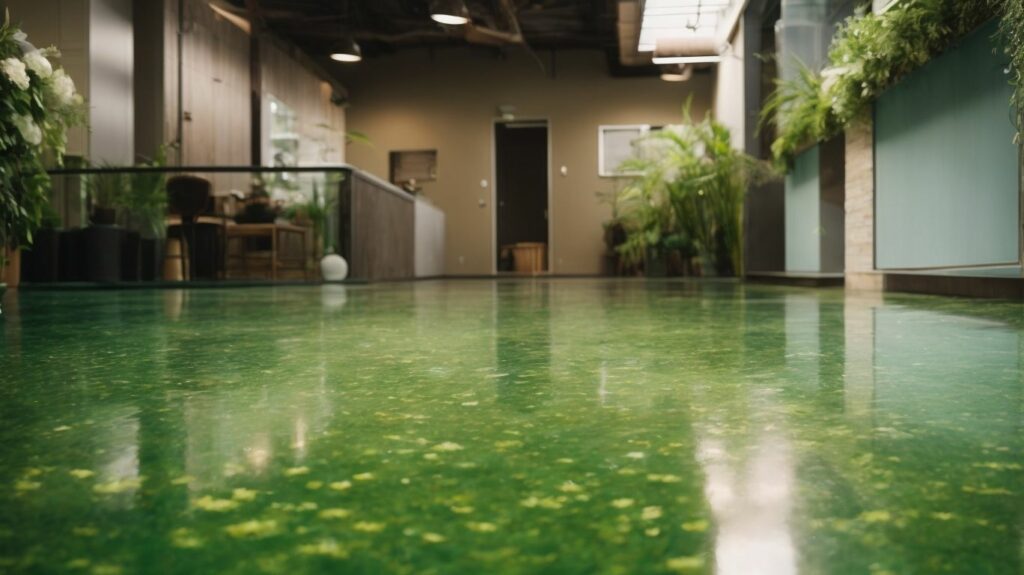
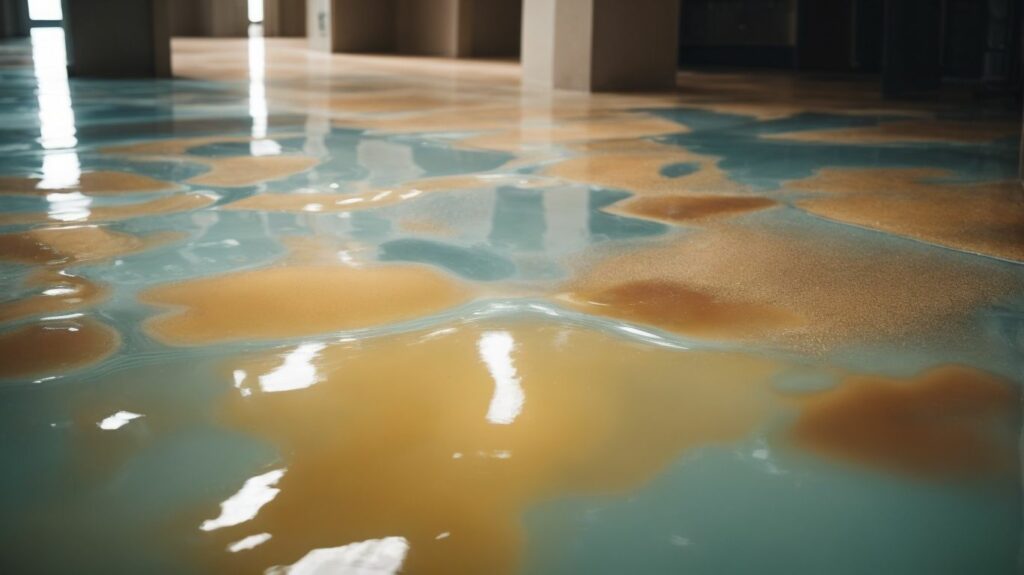
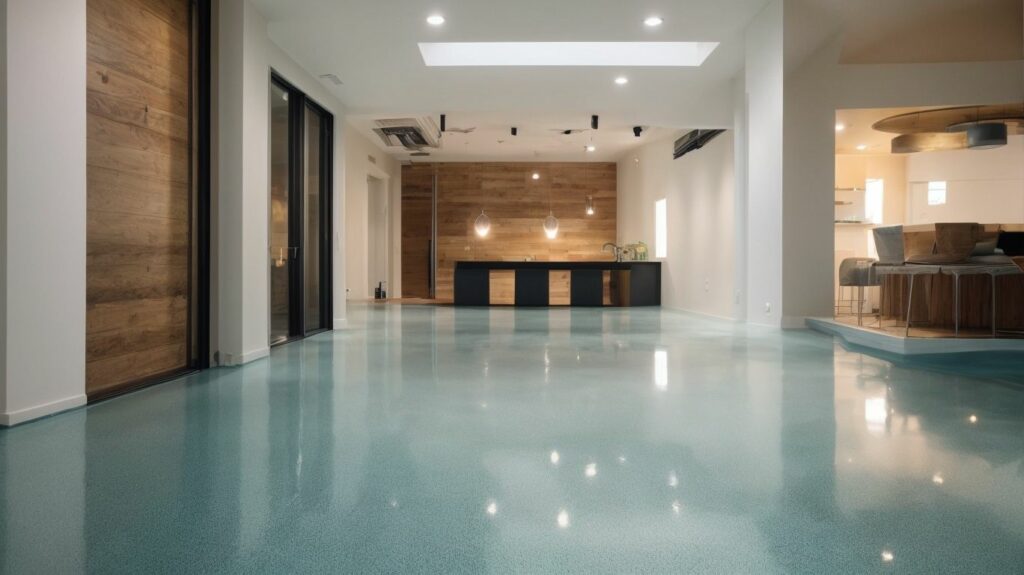
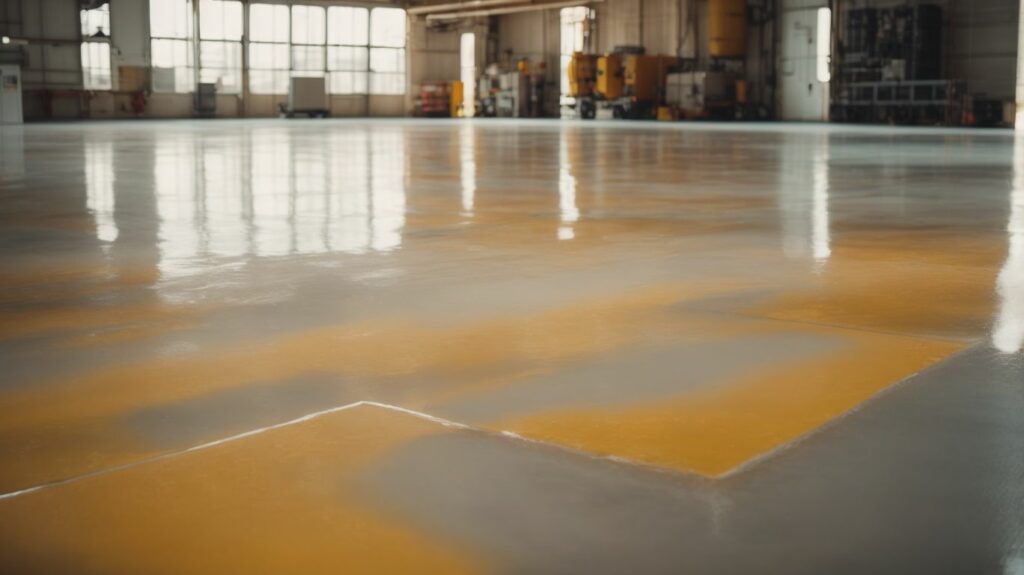
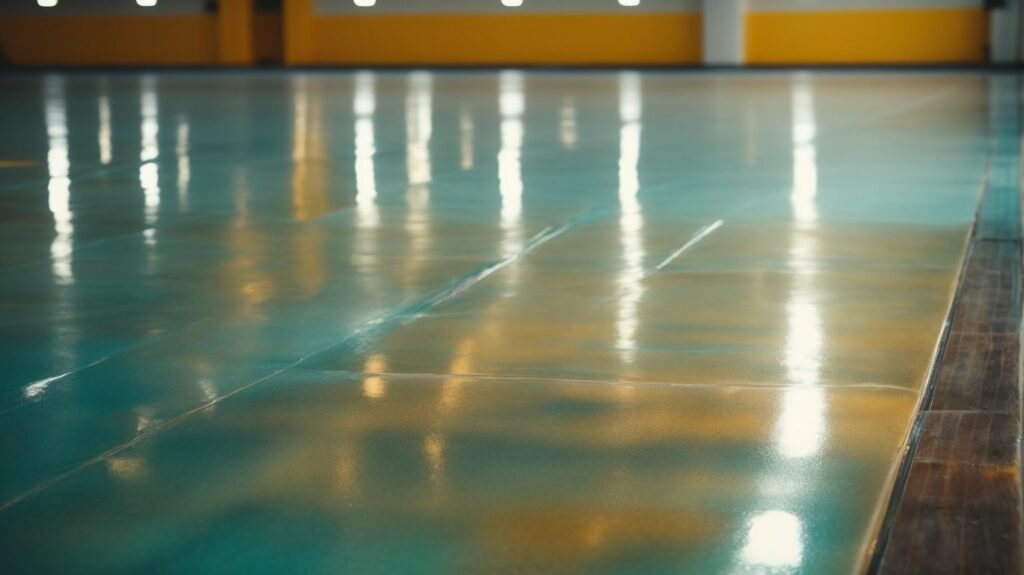
There are various types of epoxy resin flooring available, each with its own unique characteristics and applications. Self-leveling epoxy flooring is ideal for creating a seamless and smooth finish. Flake epoxy flooring adds a decorative element with colored flakes embedded into the resin. Metallic epoxy flooring offers a striking, metallic-like effect that can resemble marble or other natural materials. Quartz epoxy flooring incorporates quartz crystals for added strength and texture.
Installation Steps
The installation process of epoxy resin flooring involves several key steps to achieve a durable and flawless finish. These steps include surface preparation, applying the epoxy primer, applying the epoxy resin coat, adding decorative elements if desired, and applying the final topcoat. Each step is important and should be followed meticulously to ensure a successful installation.
Curing and Drying Time
After the installation is complete, the epoxy resin flooring will require sufficient time to cure and dry. The curing time and drying time can vary depending on factors such as temperature and humidity. It is essential to allow the flooring to fully cure and dry before subjecting it to heavy use or traffic.
Maintenance and Cleaning Tips
Proper maintenance and regular cleaning are essential for preserving the longevity and appearance of epoxy resin flooring. This includes routine cleaning with mild detergent, regular sweeping or vacuuming to remove dirt and debris, and avoiding harsh chemicals or abrasive cleaning agents that can damage the epoxy surface. Following these maintenance and cleaning tips will help keep your epoxy resin flooring in optimal condition.
Common Issues and Troubleshooting
While epoxy resin flooring is highly durable, there may be occasional issues that arise during or after installation. These could include bubbling, peeling, or discoloration of the epoxy surface. This guide will provide troubleshooting tips and solutions for common issues, helping you address any problems and maintain the quality of your epoxy resin flooring.
By following this ultimate guide, you will gain the knowledge and confidence to install epoxy resin flooring in your home successfully. Whether you are looking to renovate your kitchen, upgrade your bathroom, or transform your garage, epoxy resin flooring offers a versatile and long-lasting solution that will enhance the beauty and functionality of your space.
Epoxy Resin Flooring has several advantages for homeowners, making it a popular choice for residential spaces. Here are some key benefits:
To ensure a successful installation of epoxy resin flooring in your home, it is crucial to properly prepare and plan the project. This section will discuss the necessary steps to take before applying the epoxy layer. These steps include assessing your current flooring surface, cleaning and repairing the subfloor, and calculating the materials and budget required. By following these guidelines, you can establish a strong foundation for your epoxy flooring project.
When installing epoxy resin flooring, it is important to assess the existing flooring surface to ensure proper preparation and a successful installation. Here are the steps to assess the existing flooring surface:
By carefully assessing the existing flooring surface, you can address any necessary repairs or preparations, ensuring a smooth and durable epoxy resin flooring installation.
Cleaning and repairing the subfloor is an important step in preparing for the installation of epoxy resin flooring. Here’s a step-by-step guide to help you:
A homeowner recently renovated their basement and decided to install epoxy resin flooring. They neglected to properly clean and repair the subfloor. As a result, the epoxy resin did not adhere properly and resulted in a patchy and uneven finish. They had to remove the failed epoxy and start the entire process again, this time ensuring the subfloor was properly cleaned and repaired. Lesson learned: cleaning and repairing the subfloor is crucial for a successful epoxy resin flooring installation.
Calculating materials and budget is a crucial step in the installation of epoxy resin flooring. Here are the steps to help you in this process:
Epoxy resin flooring comes in various types, each offering its own benefits and style to your home. From self-levelling epoxy flooring to flake, metallic, and quartz epoxy flooring, there are numerous enticing possibilities to explore. Find the perfect match for your aesthetic and practical needs.
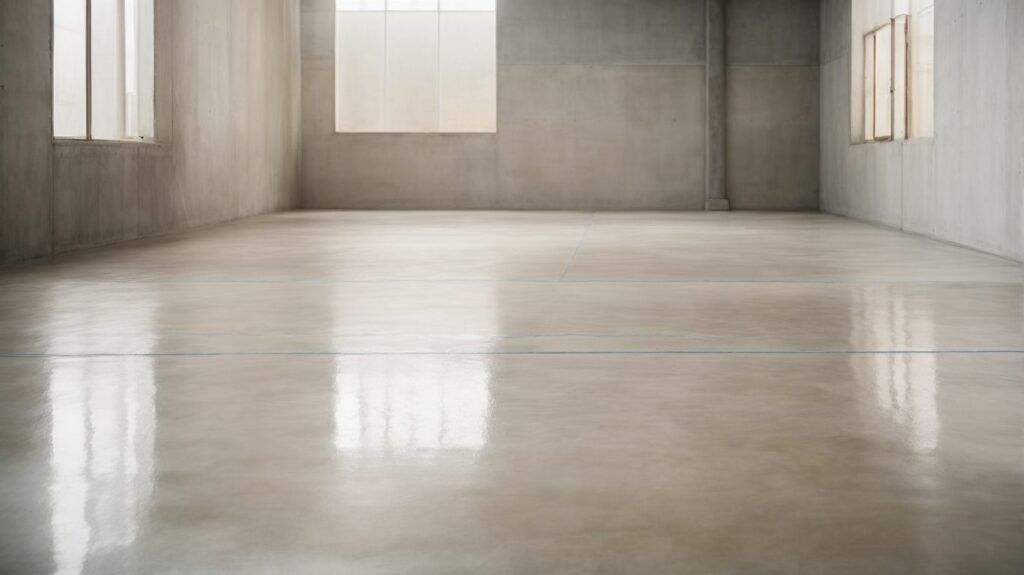
Self-levelling epoxy flooring is a popular choice for residential and commercial spaces in the UK due to its smooth, seamless finish and durability. Here is a list of key aspects to consider when choosing self-levelling epoxy flooring:
By considering these factors, you can achieve a professional and long-lasting self-levelling epoxy flooring installation.
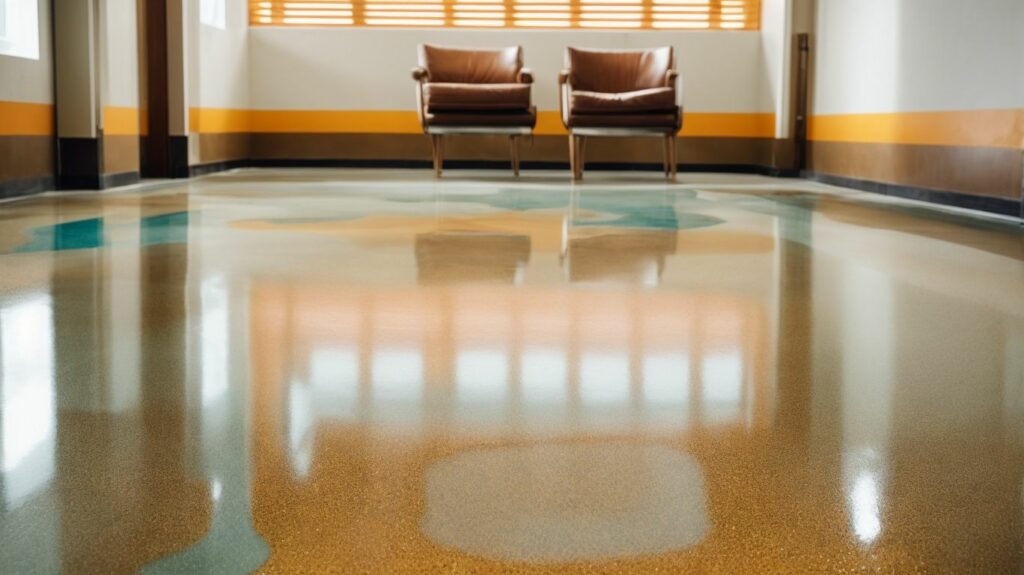
Flake epoxy flooring is a popular choice for both residential and commercial spaces because of its durability and aesthetic appeal. It offers a wide range of colours and designs, allowing for customisation to suit any interior design scheme. The flakes create a textured surface, which provides slip resistance and improves safety. Additionally, flake epoxy flooring is highly resistant to stains, chemicals and wear, making it ideal for high-traffic areas. The seamless surface of flake epoxy flooring also makes it easy to clean and maintain, reducing both time and effort. Furthermore, it is a cost-effective option compared to other flooring materials such as hardwood or ceramic tiles. Consider using flake epoxy flooring to add a unique and durable finish to your residential or commercial space.
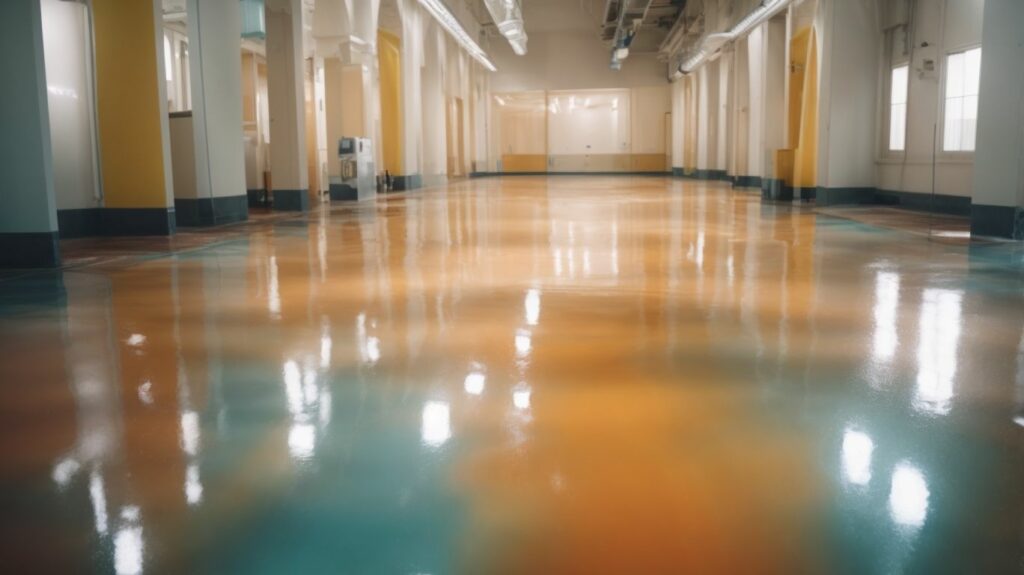
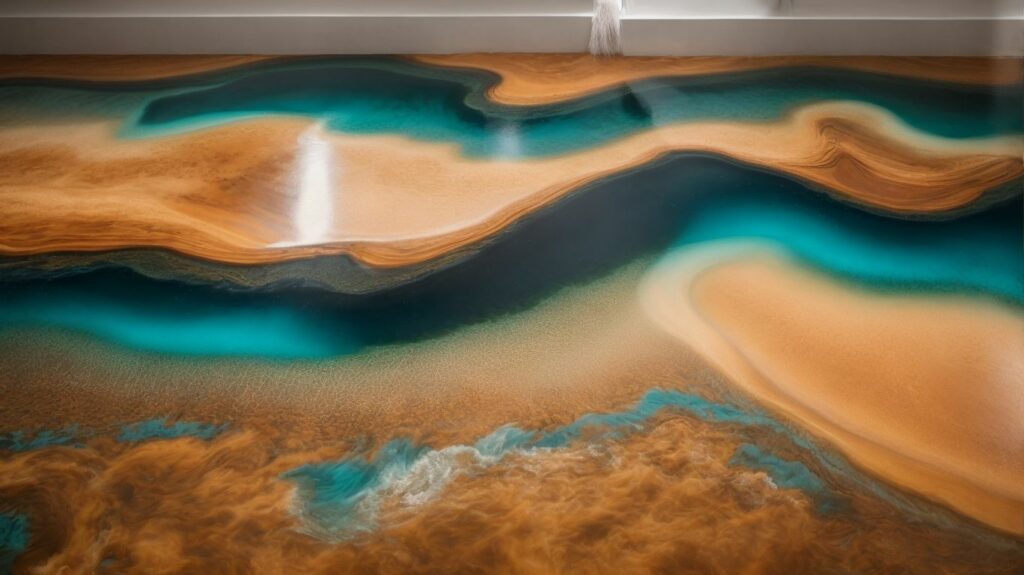
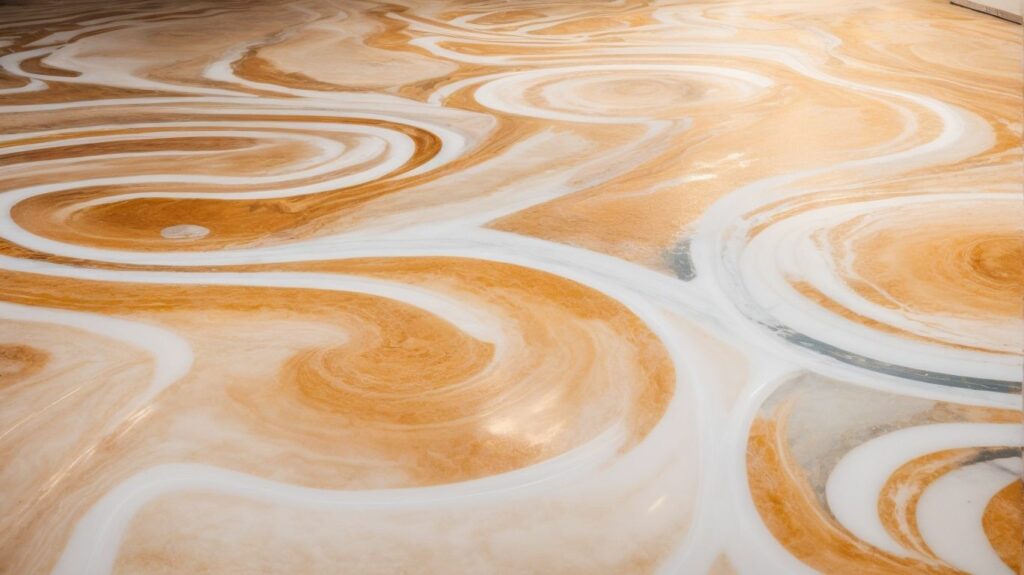
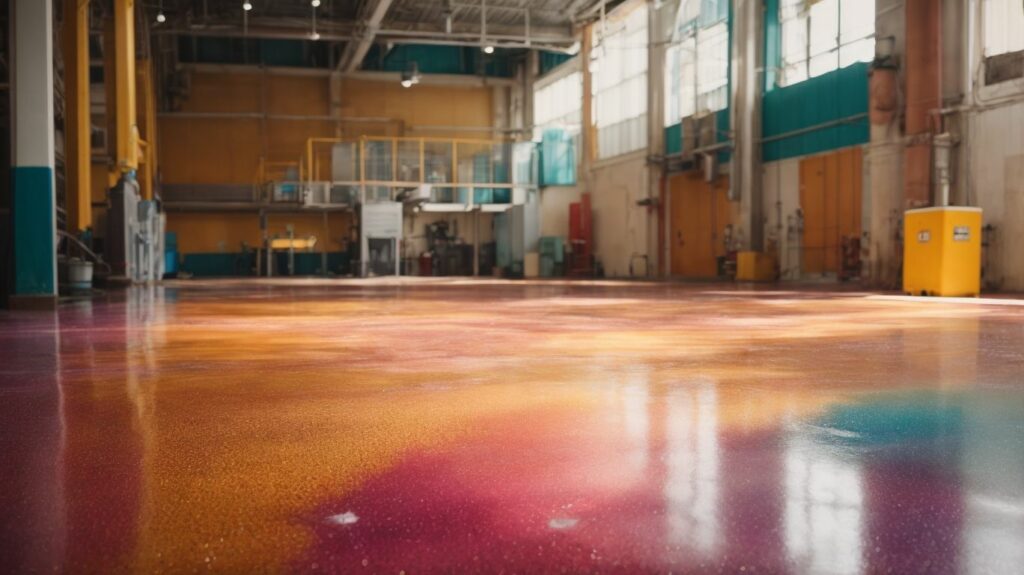
Metallic Epoxy Flooring is a highly sought-after flooring option for homeowners who want a distinctive and visually appealing look. This flooring type combines epoxy resin with metallic pigments to achieve a striking, glossy finish that resembles polished metal. Metallic Epoxy Flooring offers numerous advantages, including its durability, resistance to chemicals and stains, and ease of maintenance. Additionally, it provides a high level of customizability, with a wide array of colours and effects to choose from. Whether it’s in a residential or commercial setting, Metallic Epoxy Flooring adds a touch of sophistication and elegance to any space.
Quartz epoxy flooring is a popular choice for both residential and commercial spaces due to its durability, aesthetic appeal, and ease of maintenance. Here are some key points about quartz epoxy flooring:
Installing epoxy resin flooring in your home is a simple process that can transform your space. This section will provide a step-by-step guide to help you with the installation. We will cover everything from preparing the surface to adding decorative elements. By following these instructions, you can add elegance and durability to your floors.
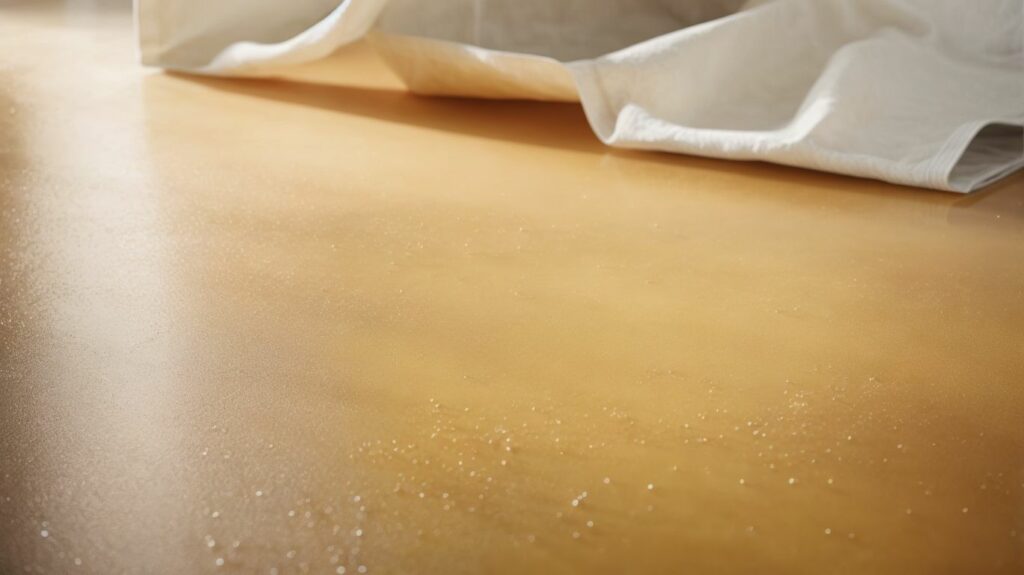
Surface preparation is an important step in the installation of epoxy resin flooring. Follow these steps to ensure a smooth and durable application:
Epoxy resin flooring has been used since the early 20th century as a coating for industrial floors. Its high durability and chemical resistance made it a popular choice for factories and warehouses. Over the years, advancements in technology have made epoxy resin flooring more accessible and versatile, leading to its widespread use in homes and commercial spaces.
Applying the epoxy primer is a crucial step in the installation process of epoxy resin flooring. This step is important to prepare the surface for optimal adhesion and to achieve a smooth and durable finish. Here are the steps you need to follow when applying the epoxy primer:
By following these steps, you can ensure that the epoxy primer is applied correctly, setting the foundation for a successful installation of epoxy resin flooring.
To apply the epoxy resin coat for your flooring, follow these steps:
Adding decorative elements to epoxy resin flooring can enhance the overall aesthetic appeal and create a unique look. Here are some options to consider:
Adding decorative elements to epoxy resin flooring can enhance the overall aesthetic appeal and create a unique look. Here are some options to consider:
Applying the Final Topcoat is the final and crucial step in the installation process of epoxy resin flooring. Follow this step-by-step guide to ensure a successful application:
To maintain the longevity and appearance of your epoxy resin flooring, keep the following suggestions in mind:
Avoid dragging heavy objects across the floor to prevent scratches.
Regularly sweep or vacuum the floor to remove dirt and debris.
For routine cleaning, use a mild detergent and warm water.
Consider applying a protective wax or sealer for an extra layer of protection.
When installing epoxy resin flooring in your home, it is important to consider the curing and drying time. This will help you plan and ensure proper installation.
Maintenance and Cleaning Tips
To keep your epoxy resin flooring looking its best and prolong its lifespan, it is important to maintain and clean it regularly. Here are some tips to follow:
Did you know? Epoxy resin flooring is highly durable and can withstand heavy foot traffic and high impact without losing its glossy finish.
When installing epoxy resin flooring in your home, it is important to be aware of common issues and how to troubleshoot them for a successful installation.
For a hassle-free installation, it is recommended to carefully follow the manufacturer’s instructions, conduct thorough surface preparation, and work in a well-ventilated area. Remember, proper maintenance and regular cleaning will help prolong the durability and appearance of your epoxy resin flooring.
Epoxy flooring offers several practical benefits. It provides a durable and attractive floor coating that is resistant to moisture, chemicals, extreme temperatures, and mechanical stress. It is also easy to clean, comes in a range of colors and finishes, and has anti-slip properties.
Yes, epoxy floors can be applied over any type of subflooring material, including concrete, wood, and tiles. This makes epoxy flooring a versatile option for both new construction and remodeling projects.
Epoxy flooring offers superior durability, resistance to heat, chemicals, and water, and a high-gloss, fashionable finish. It also provides a solid coating that is non-dusting and easy to clean. In comparison, vinyl and floating timber flooring may not have the same level of resistance to chemicals and mechanical stress.
When choosing an epoxy floor, consider the type of room it will be installed in, its resistance to moisture, durability, type of coating, and color. Professional installation is recommended for the desired finish and proper preparation.
Epoxy flooring is non-dusting and can be applied over concrete floors to prevent issues with dust. It can also be used as a damp proof membrane to create a smooth and even surface, offering protection against moisture.
The copyright of Google LLC on YouTube is valid until 2023.


We Aim To Reply To All Enquiries With-in 24-Hours