24+ Years Experience
Specialist Epoxy Resin Flooring
Enquire Today For A Free No Obligation Quote
Epoxy resin flooring is a popular choice for both residential and commercial spaces due to its durability, versatility, and aesthetic appeal. To ensure a successful epoxy resin flooring installation, it is important to have the right tools and equipment at your disposal. In this article, we will explore the benefits of epoxy resin flooring, discuss the essential tools required for the installation process, guide you on choosing the right epoxy resin, provide insights on preparing the substrate for installation, explain the application process, and share maintenance tips to prolong the lifespan of your epoxy resin flooring.
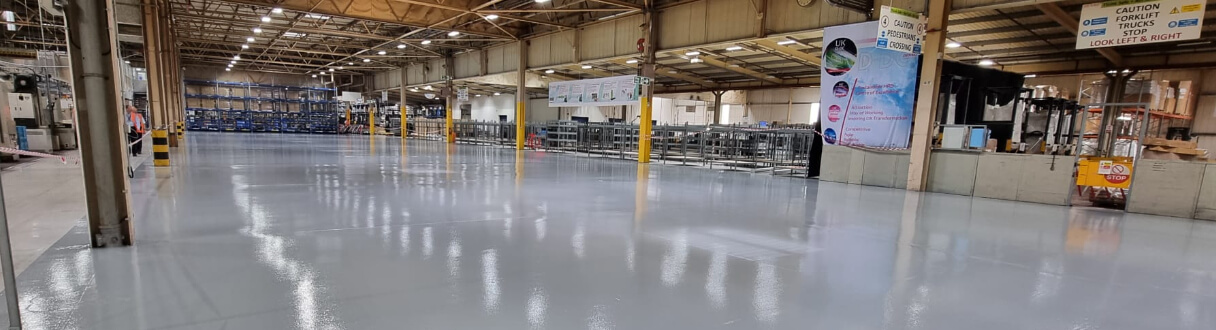
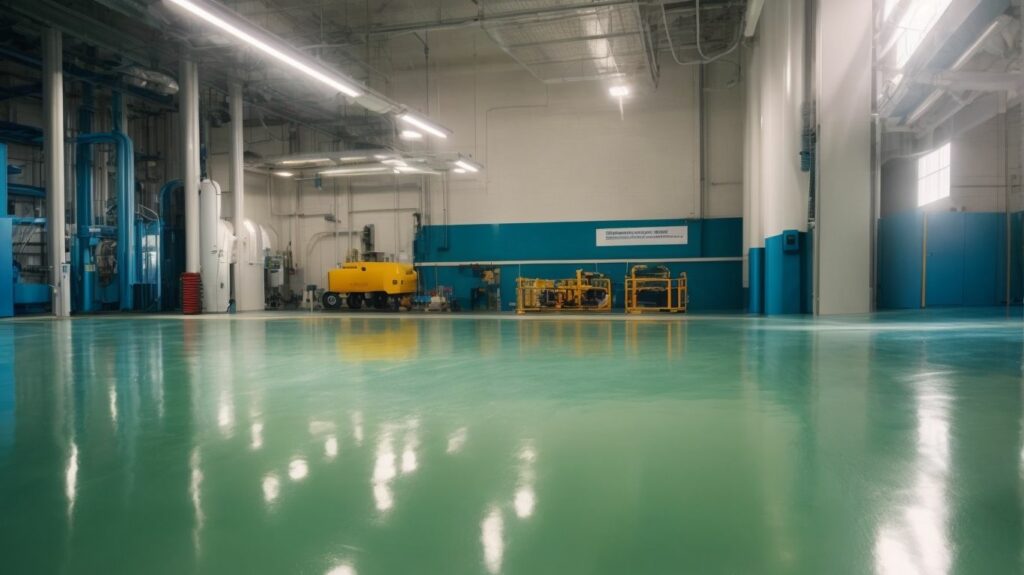
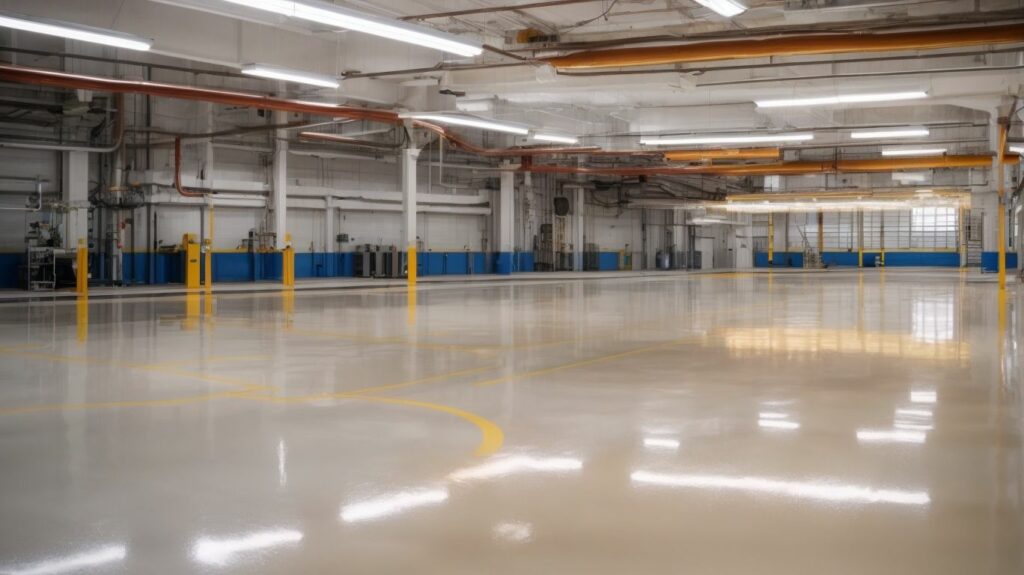
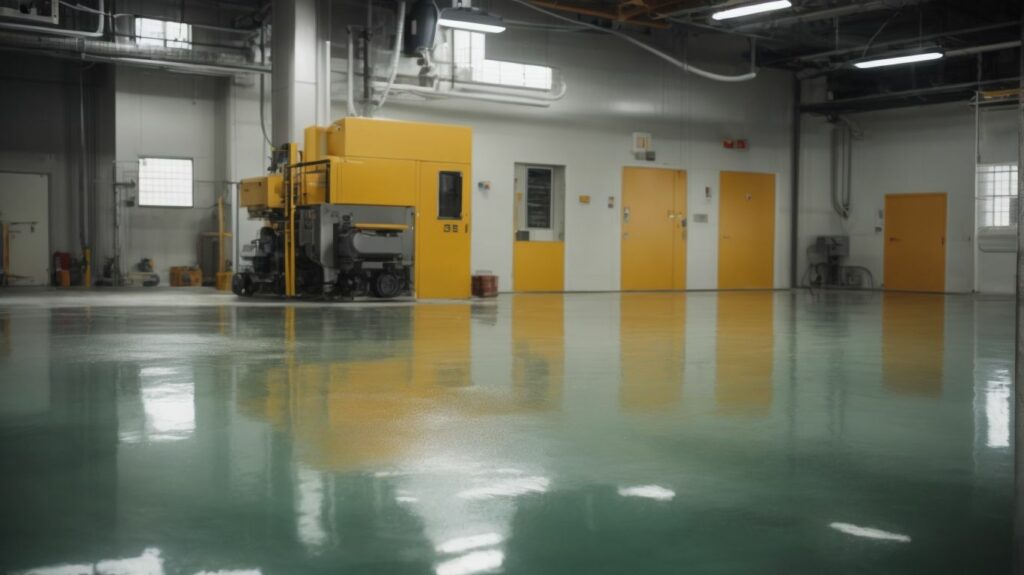
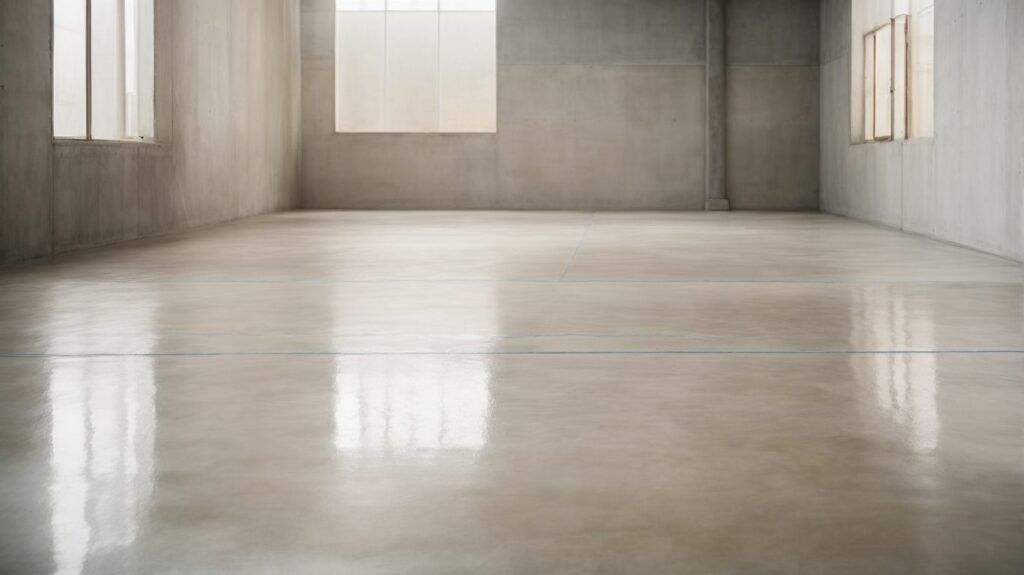
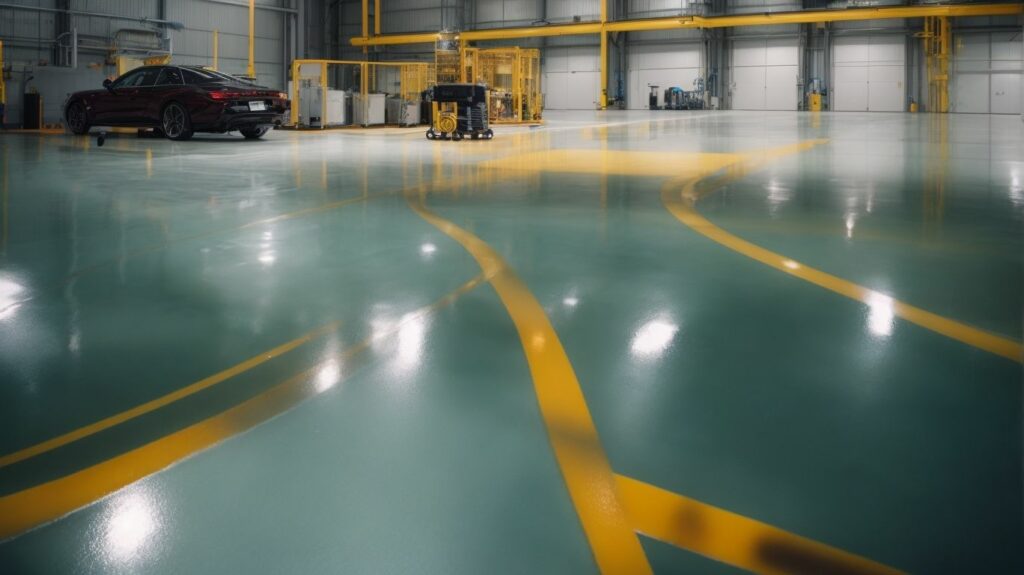
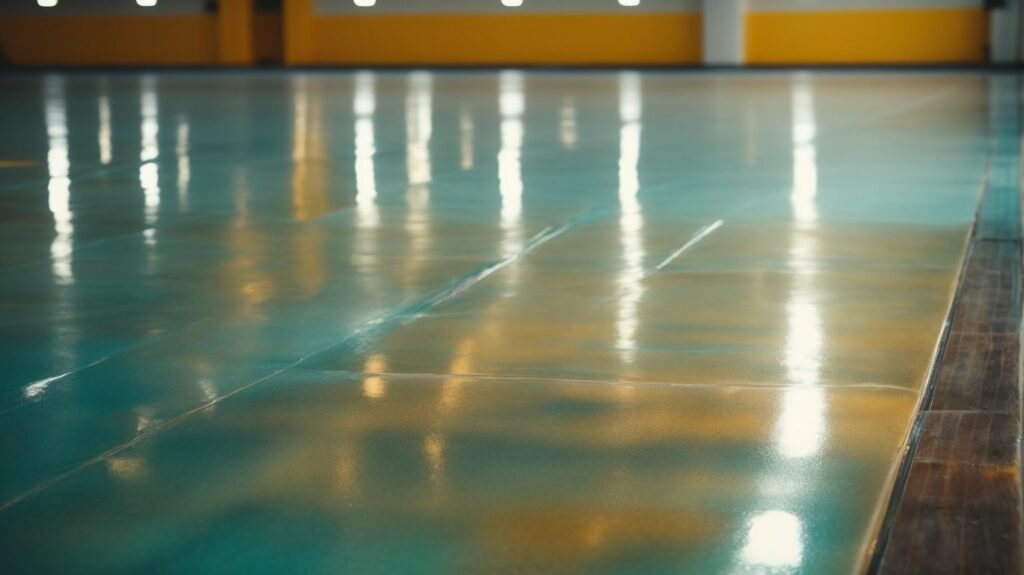
Epoxy resin flooring offers numerous benefits, including high durability, resistance to chemicals and stains, easy maintenance, and a sleek finish. Whether you are looking to transform your garage, office, or even a retail space, epoxy resin flooring can provide a seamless and long-lasting solution.
When it comes to installing epoxy resin flooring, having the right tools is crucial. This includes surface preparation tools such as grinders and shot blasters, mixing tools like power drills and mixing paddles, application tools including rollers and squeegees, and safety equipment to protect yourself during the installation process.
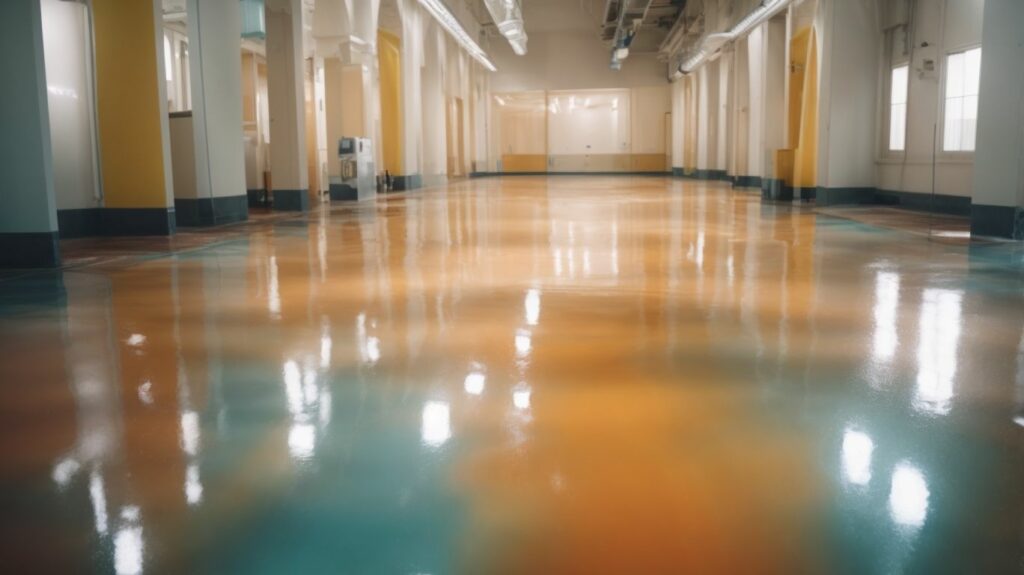
Choosing the right epoxy resin is also essential for a successful installation. Factors to consider include the type of space, desired finish, and the level of foot or vehicle traffic. Different types of epoxy resin are available to suit various applications, including self-leveling epoxy for flat surfaces, epoxy mortar for repair work, and decorative epoxy for a unique and aesthetically pleasing finish.
Before applying the epoxy resin, proper preparation of the substrate is key. This involves thorough surface cleaning and repairs to ensure a smooth and level base. Moisture testing is crucial to prevent any issues with adhesion and ensure the longevity of the flooring.
The application process includes priming the surface to enhance adhesion, followed by carefully mixing and applying the epoxy resin using the appropriate techniques. Proper curing and finishing are important to achieve optimal results, including allowing sufficient drying time and applying topcoats and sealants to enhance durability and protect against wear and tear.
Finally, maintaining your epoxy resin flooring is essential for its longevity. Simple maintenance tips such as regular cleaning, using non-abrasive cleaners, and avoiding heavy impact or dragging sharp objects can help preserve the appearance and functionality of your epoxy resin flooring.
By understanding the benefits, having the right tools, and following the proper installation and maintenance techniques, you can achieve a perfect epoxy resin flooring that is not only durable but also enhances the aesthetic appeal of your space.
Epoxy resin flooring offers a range of benefits for both residential and commercial spaces.
Pro-tip: To ensure the best results, it is recommended to hire a professional to install epoxy resin flooring, as proper preparation and application are crucial for its long-term performance.
Essential Tools for Epoxy Resin Flooring Installation Get your epoxy resin flooring installation done correctly by using the ideal set of tools. This section will reveal the essential tools required for a smooth and professional epoxy resin flooring installation. We will cover everything from surface preparation tools to mixing and application tools. Additionally, we will discuss the significance of safety equipment throughout the process. Stay tuned to learn how to equip yourself for a flawless epoxy resin flooring project.
Before installing epoxy resin flooring, it is important to properly prepare the surface. Here is a list of essential surface preparation tools to consider:
Properly utilizing these surface preparation tools will ensure a clean and smooth surface, allowing for better adhesion and longevity of the epoxy resin flooring.
Mixing tools are essential for the installation of epoxy resin flooring. Here are some important tools used for mixing epoxy resin:
Fact: Proper mixing of epoxy resin is crucial as it ensures the chemical reaction occurs correctly, resulting in a strong and durable flooring finish.
When installing epoxy resin flooring, it is essential to have the right application tools to achieve a successful outcome. Here are some essential tools that you will need:
Having the proper application tools ensures that the epoxy resin is applied accurately and efficiently, resulting in a durable and aesthetically pleasing flooring surface. Remember to clean your tools promptly after use to maintain their effectiveness and prolong their lifespan.
When working on epoxy resin flooring installations, it is crucial to ensure the use of proper safety equipment. This not only protects your health but also ensures a successful and safe installation process. Here are some essential safety equipment to consider:
True story:
A flooring contractor once neglected to use safety equipment during an epoxy installation. As a result, they experienced respiratory issues and skin irritation. After learning from this experience, they understood the importance of safety equipment and now prioritize it in every project, ensuring the well-being of both themselves and their team.
Choosing the Right Epoxy Resin
When it comes to achieving a flawless epoxy resin flooring installation, it is crucial to choose the right epoxy resin. In this section, we will explore the factors you should consider to make an informed decision. We will also discuss the different types of epoxy resin available for various applications. Prepare yourself to discover the secrets to selecting the perfect epoxy resin for your flooring needs!
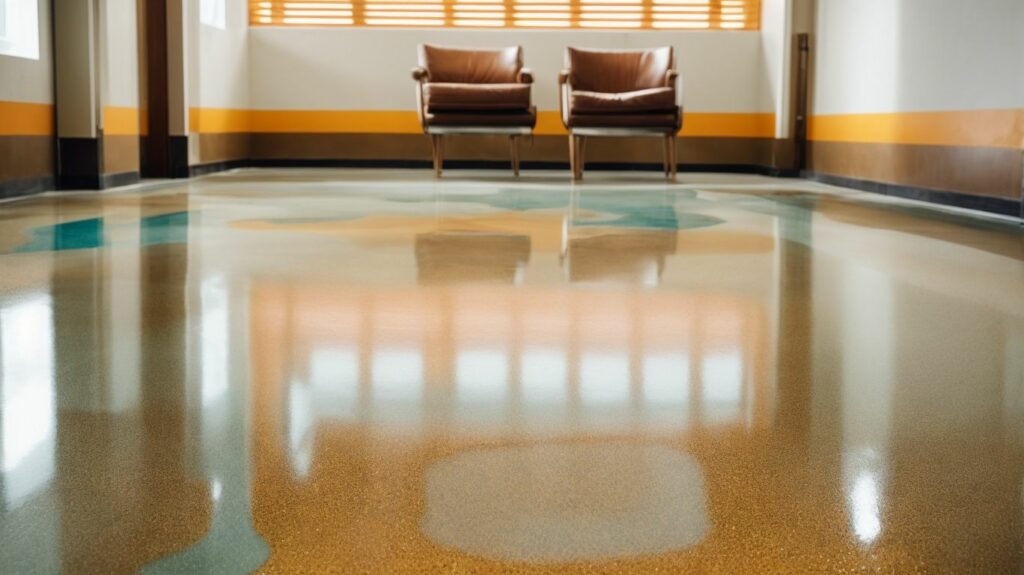
When considering epoxy resin flooring, there are several factors to take into account for a successful installation. These factors include the usage of the flooring, its durability, appearance, cost, and the complexity of the installation process. When determining the usage, it is important to consider if the flooring will be subjected to heavy foot traffic, chemicals, or extreme temperatures. The durability of the epoxy resin should be chosen according to the intended use. Additionally, the desired aesthetic should be considered as epoxy resin flooring comes in a variety of colours and finishes. The cost of the project, including materials, installation, and maintenance, should also be assessed. Lastly, it is important to evaluate the complexity of the installation process and determine if professional assistance is necessary.
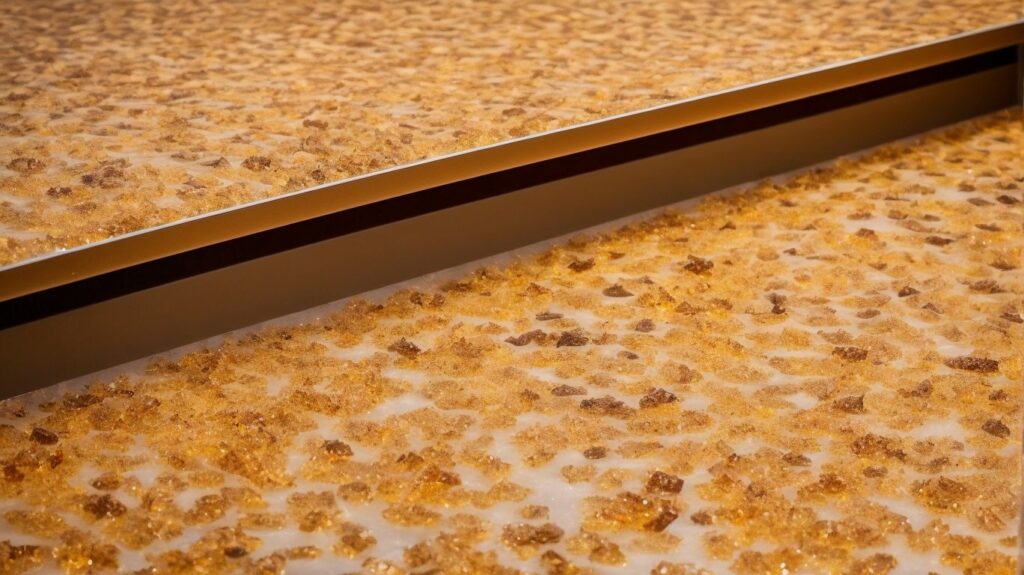
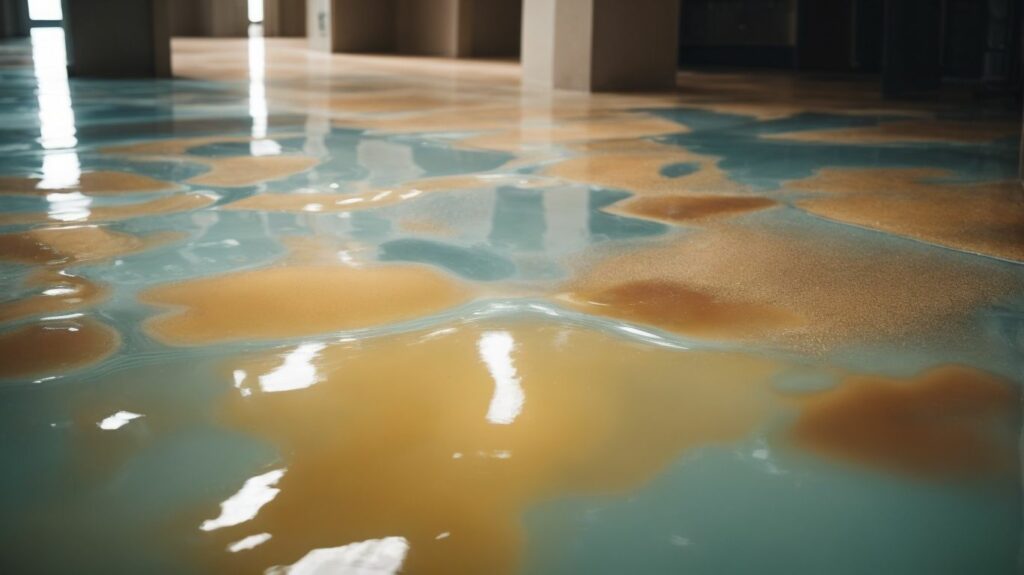
There are different types of epoxy resin suitable for various applications in flooring. The following table outlines some common types:
| Epoxy Resin Type | Application |
| Self-Leveling Epoxy | Used to level uneven or damaged surfaces |
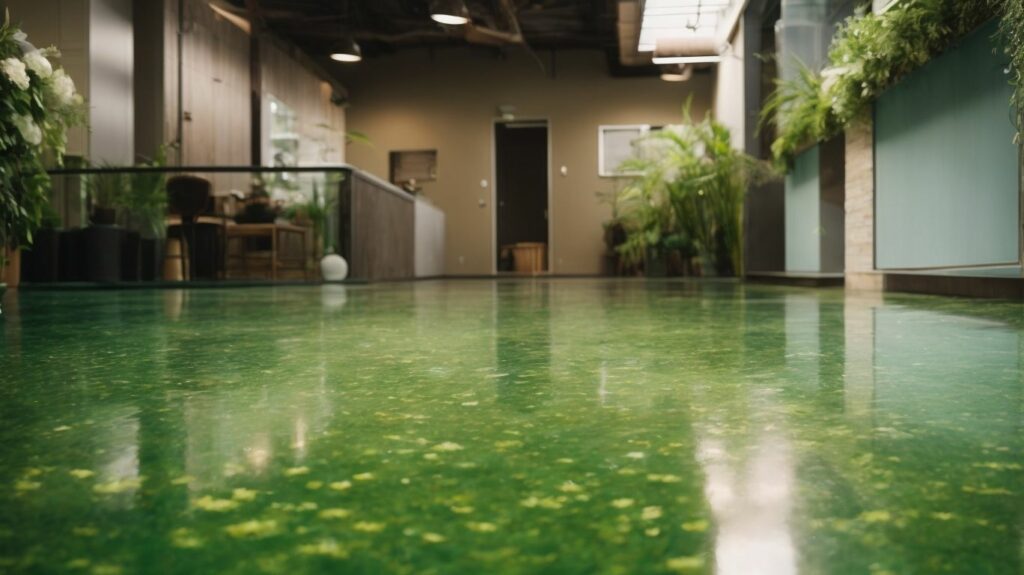
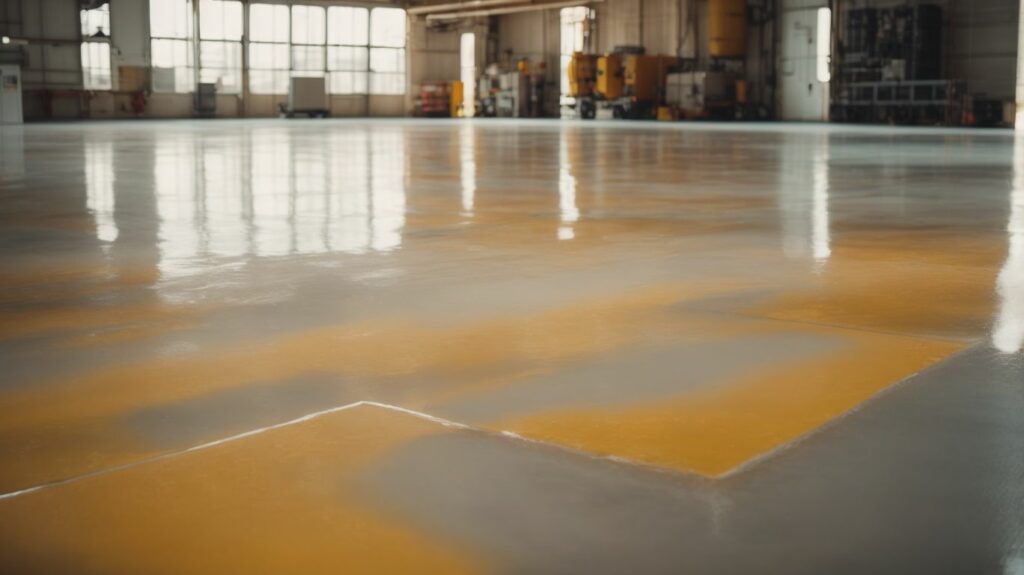
| Decorative Epoxy | Provides a visually appealing, glossy finish with various design options |
| High Build Epoxy | Creates a thick and durable coating, ideal for areas with heavy traffic |
| Moisture Barrier Epoxy | Prevents moisture penetration and acts as a protective layer |
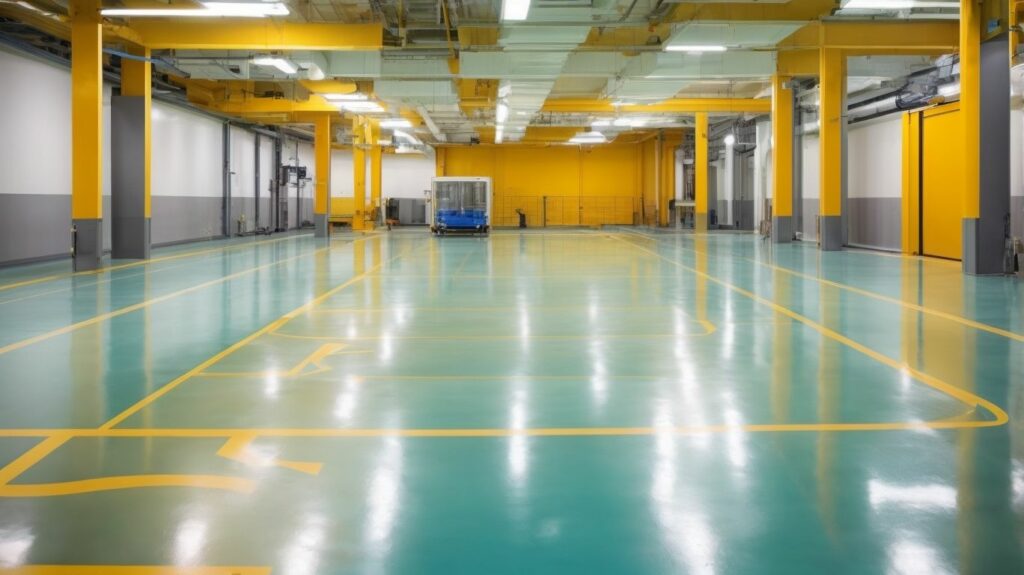
Using the correct type of epoxy resin is vital to achieve the desired results in different flooring applications. It is a known fact that epoxy resin flooring is commonly used in commercial and industrial settings due to its durability, chemical resistance, and impact resistance.
Before you begin installing epoxy resin flooring, it is important to properly prepare the substrate. This involves two main steps: cleaning and repairing the surface, as well as testing for moisture. By ensuring a clean and solid foundation, you can enhance the durability and effectiveness of your epoxy resin flooring. Now, let’s delve into the details of substrate preparation to create the perfect base for installation.
When it comes to epoxy resin flooring installation, one crucial step is surface cleaning and repairs. This step is essential in preparing the substrate for a smooth and durable finish. To achieve this, follow these steps:
Moisture testing is an important step in the installation of epoxy resin flooring to ensure proper adhesion and prevent future issues. Here is a list of steps for moisture testing:
When it comes to applying epoxy resin flooring, the focus is on achieving the perfect finish. This section will examine the essential steps involved in priming the surface and mastering the mixing and application techniques. It will explore useful tips and tricks that can help you achieve flawless results in your epoxy resin flooring installation. So, prepare yourself and get ready to enhance your space with a professional touch!
Priming the surface is an important step in installing epoxy resin flooring. It is essential for ensuring proper adhesion and achieving a smooth and durable finish. The following steps outline the process of priming the surface:
By properly priming the surface, you can ensure a strong bond between the epoxy resin and the substrate, resulting in a long-lasting and high-quality flooring finish.
By following these mixing and application techniques, you can achieve a flawless epoxy resin flooring installation.
Ready to achieve a flawless epoxy resin flooring? In this section, we will discuss the crucial stage of curing and finishing. Here, we will uncover the secrets to obtaining a professional-grade result. We will explore the drying time and curing process, as well as the art of applying topcoat and sealants. By the end of this section, you will have the necessary knowledge to ensure a durable and impeccable epoxy resin floor that will stand the test of time.
The drying time and curing process are crucial steps in the installation of epoxy resin flooring that determine its final appearance and durability. These steps are important to achieve the desired results in terms of appearance and durability of the epoxy resin flooring.
During the drying stage, the epoxy resin undergoes a chemical reaction, transforming from a liquid to a solid state. This process usually takes about 24 hours, but the duration may vary depending on factors such as temperature and humidity.
After the drying stage, the curing process begins, allowing the epoxy resin to reach its full strength and hardness. It is important to note that curing can take several days or even weeks, depending on the specific epoxy resin system used. The duration of the curing process may vary depending on the type of epoxy resin system being used.
During this time, it is essential to avoid any heavy foot traffic or placing heavy objects on the surface to prevent damage to the curing epoxy. Proper ventilation is necessary to ensure the release of any potentially harmful fumes emitted during the curing process. Adequate ventilation is also important to ensure the safety of the installation process.
The discovery of epoxy resin can be traced back to the early 1930s when a group of scientists stumbled upon a peculiar substance with exceptional adhesive properties. It wasn’t until the 1950s that epoxy resin was commercialised as a flooring material, revolutionising the construction industry. Over time, advancements in formulations and curing processes have further enhanced the durability and versatility of epoxy resin flooring, making it a popular choice for various applications today. The discovery and commercialisation of epoxy resin as a flooring material have greatly impacted the construction industry.
To ensure a flawless epoxy resin flooring installation, it is important to apply topcoat and sealants. Follow the steps below:
It is a fact that applying topcoat and sealants not only enhances the appearance of the epoxy resin flooring but also improves its resistance to wear and tear, prolonging its lifespan.
Proper maintenance is essential for keeping epoxy resin flooring in excellent condition. Here are some essential tips to ensure its longevity:
Additionally, it is interesting to note that resin flooring has been used for centuries. In ancient Egypt, a similar form of resin flooring was employed. The Egyptians mixed resin with pigments to create beautiful and durable floors in temples and palaces, showcasing their advanced craftsmanship.
To achieve a perfect epoxy resin flooring installation, you will need a variety of tools, including epoxy coating tools, flooring trowels, spiked shoes, concrete sealer, spiked rollers, and epoxy rollers. Other tools such as squeegees, rollers, and specialized hand and power tools may also be necessary depending on the specific project requirements.
Spiked shoes are essential tools for walking across wet flooring during the epoxy resin installation process. They help create a smooth concrete sealer by evenly distributing your weight, preventing any visible footprints or damage to the coating. Using spiked shoes ensures a consistent and professional finish.
For a lint-free top coat sealer, epoxy resin flooring contractors typically use stainless steel and plastic trowels. These specialized tools enable smooth and even application of the resin flooring system. Additionally, microcement trowels and venetian plaster trowels are suitable for achieving fine cement-based finishes.
Spiked rollers play a crucial role in releasing air bubbles that may be trapped in thick epoxy materials during flooring installation. By rolling the spiked roller over the fresh epoxy coating, it helps eliminate air entrapment, leading to a smoother and more visually appealing finish.
Epoxy rollers, particularly larger-sized ones, are used to efficiently apply coatings to the entire floor. They allow for quick and even distribution of the epoxy material, ensuring a consistent coating surface. The use of high-quality epoxy rollers ensures a professional finish while saving time and effort during the installation process.
Resinous Flooring Supply and Toppus Group are reputable suppliers of epoxy flooring tools. They offer a wide selection of high-quality tools, including epoxy rollers, spiked shoes, flooring trowels, and other specialized equipment required for epoxy resin flooring installation. You can contact them directly or visit their websites for more information and to purchase the necessary tools for your project.


We Aim To Reply To All Enquiries With-in 24-Hours